
Still scrolling through Dollar Tree Christmas crafts at eleven at night with a cart full of ideas you’ll never actually make? Same. Half the fun is the planning, and the other half is a hot glue gun and a kitchen table covered in kraft paper.
We spent real time in Dollar Tree, Walmart, Hobby Lobby, Target, and the resale apps to bring you only the ideas worth your afternoon — everything from a $1.25 jingle bell ornament to a $95 full-wall garland moment.
Inside you’ll find 35 curated projects and displays — rustic greenery, traditional red-and-pinecone, cozy cottage, and a little whimsical maximalism — with budget and splurge versions compared side by side and every idea laid out so you can shop it in one trip. And stay until the end — we break down the most common mistakes that can ruin these looks.
2026 is the year of texture over glitter overload: flocking, chunky knits, and handmade layers are what people are actually pinning, and Dollar Tree finally stocks the pieces to pull it off.
Pin this guide for later — your future self will thank you when it’s time to actually do this. 📌
1. White Wooden Cutouts and Jingle Bells on a Green Wreath
Three things are doing the work here: crisp white against deep green, a mix of matte wood and shiny metal, and a shape language that repeats. The cutout tree, the reindeer, and the star are all simple silhouettes laid over a busy bed of foliage, which is why your eye can take in the whole wreath at once instead of hunting around. Strip out the white cutouts and you’d still have a perfectly nice wreath — just a generic one. The cutouts give it a face. Mounted against those dark weathered planks, the white pops even harder, and that’s a trick you can steal for any wall.

Weight is the part nobody warns you about. A 20-inch wreath loaded with wood cutouts, metal bells, and star ornaments can hit 4 to 6 pounds, and the average over-door hanger is rated for 2. Use a hook rated for 5 pounds or better, or screw a small brass cup hook straight into the wood. Hang it so the top of the wreath sits 10 to 12 inches below the top edge of the door — that frames the wreath instead of hiding it behind the door frame.
2. A Kraft-Paper Craft Table Set Up for Wreath Night
Set the station up before anyone sits down and the project takes about 40 minutes instead of two hours.

- Roll kraft paper across the table and tape the underside so it doesn’t slide while you work.
- Sort ornaments into shallow bowls by color and finish — red in one, gold and silver in another.
- Plug in the hot glue gun on a scrap tile, and keep jute twine and small snips within arm’s reach.
- Attach the heaviest pieces first, at the 4 and 8 positions, so the wreath stays balanced as it fills in.
- Fill gaps last with the lightest ornaments and any loose sprigs.
Materials run about $12 to $20 if you already own the glue gun.
Wreath-making nights have quietly replaced the cookie swap. Searches for craft nights and wreath parties climb every November, and the appeal is obvious: everyone leaves with something they’d actually hang on a door. The kraft-paper table cover is doing double duty too — it’s the perfect backdrop for the photos people post halfway through, and it rolls up with the glue drips still on it.
3. Kraft Paper Gifts Circled Under Warm String Lights
- Main furniture — round wood table, thrifted or new: $60–$180
- Lighting — two strands of warm-white string lights: $12–$30
- Textiles — chunky knit throw and green garland: $25–$60
- Wrap and tags — kraft roll, red and green fabric, twine, name tags: $15–$35
- Wall treatment — nothing needed if the wood is already there: $0

Total: $112–$305
Budget alternative: a Facebook Marketplace table at $40, one $9 strand of lights from Walmart, and fabric scraps cut from old shirts brings the same look in around $65.
It’s the circle. Gifts stacked in a ring on a round table read as a deliberate arrangement; the same boxes shoved against a wall read as clutter waiting to be moved. The circle also does something practical — it leaves the center open, so you can drop a candle or a bowl of ornaments in the middle and the whole thing feels styled instead of stored. Take the circle away and the composition falls apart entirely.
4. Evergreen Wreath with Clustered White Florals and Dried Twigs
Building one floral cluster takes about 15 minutes and costs $6 to $10 with Dollar Tree stems.
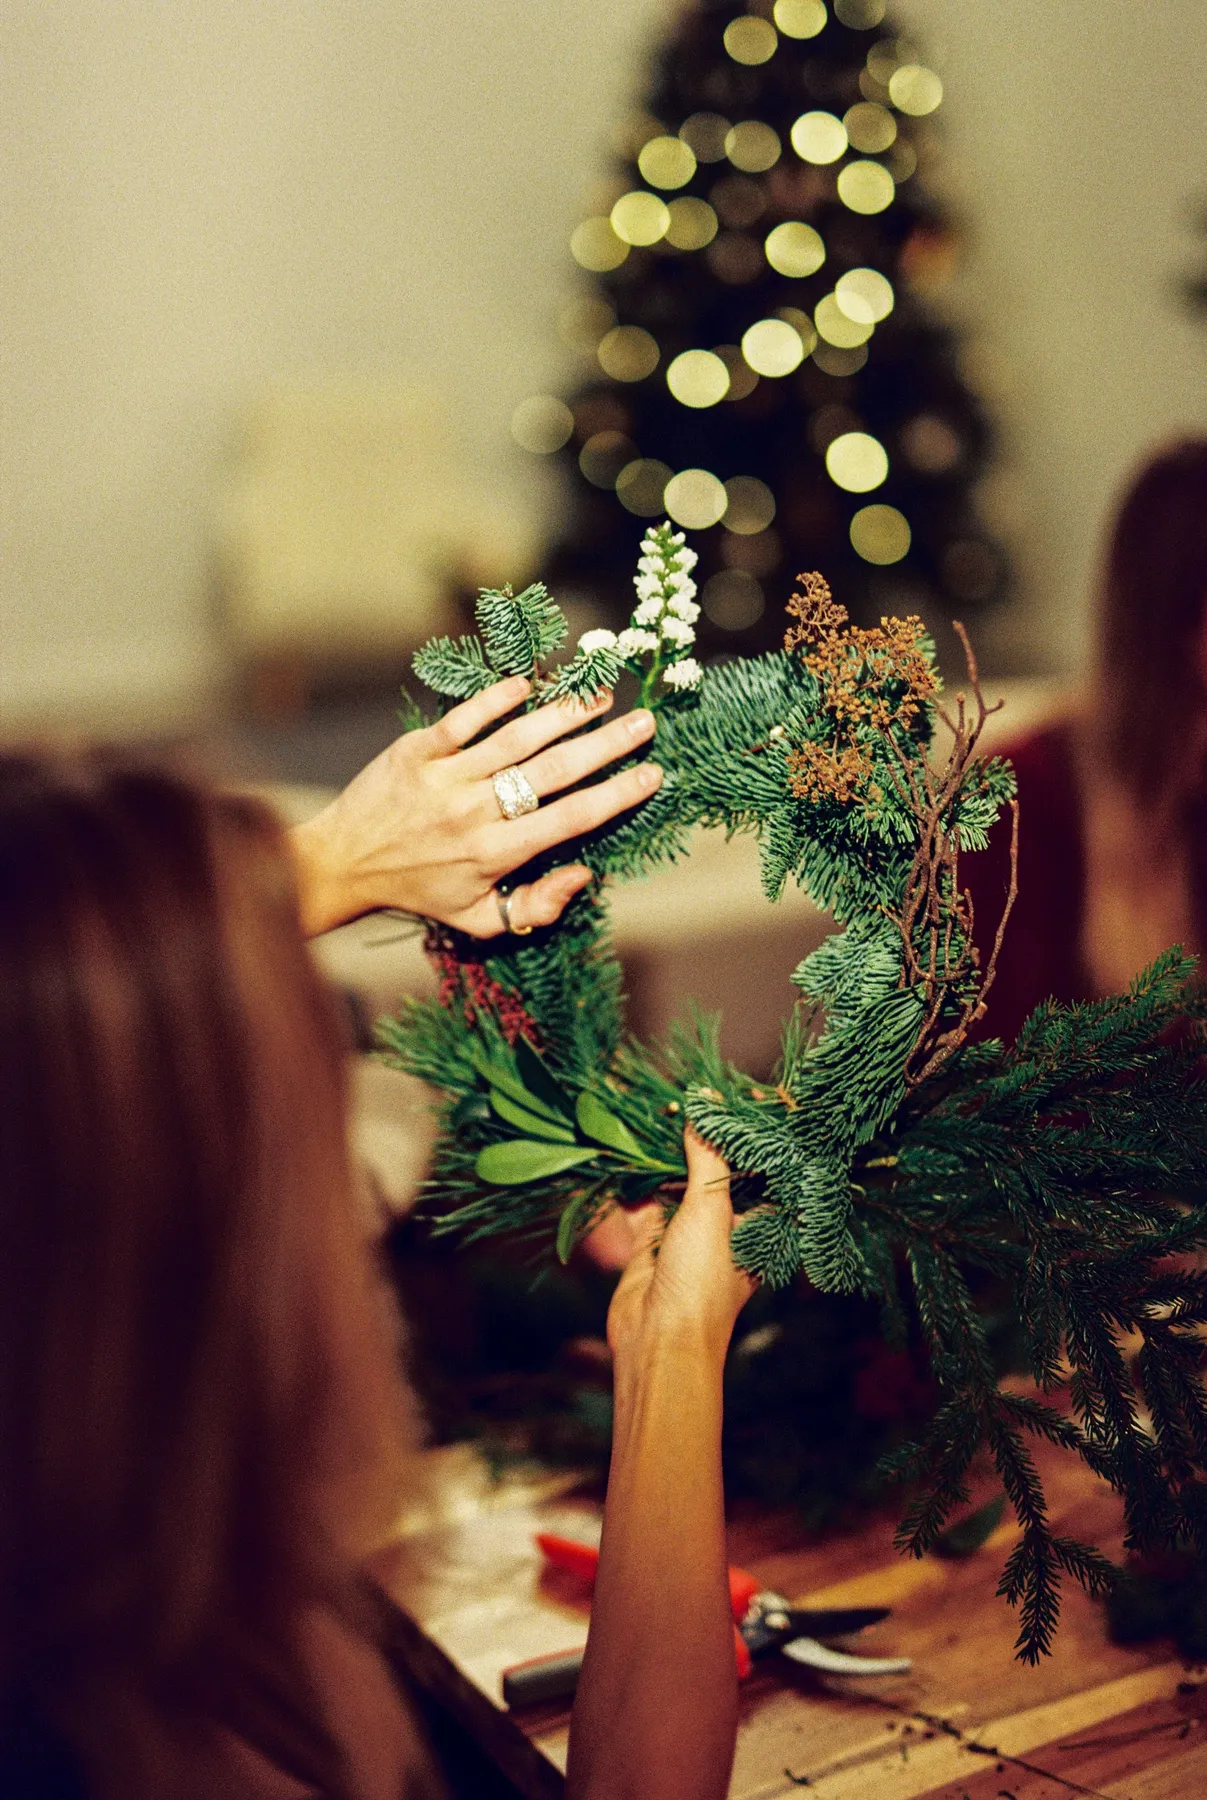
- Trim three stems — one evergreen, one white bloom, one dried brown piece — to 4-inch lengths.
- Bundle them with floral wire, wrapping twice and twisting tight at the base.
- Wire the bundle to the form at a 45-degree angle so the flowers face slightly outward.
- Repeat at five points around the wreath, spacing them evenly before you glue anything.
- Fill the gaps between clusters with loose evergreen sprigs so the form disappears.
Odd numbers, always. Three or five clusters around a wreath reads as intentional; four or six reads as a clock face. And wire your bundles at an angle rather than flat against the form — angled stems catch light along their length, which is what makes a cheap wreath look like it came from a florist. Same rule for the dried elements: keep them slightly shorter than the greenery so they register as texture, not filler.
5. A Fluffy-Hatted Gnome on a Dark Blue Door
Dollar Tree gets you there for under $8. A mop head or a skein of white yarn becomes the beard, a paper cone is the body, and the hat is a red knit beanie stretched over the top — or red felt sewn into a triangle with a fuzzy trim strip glued along the brim. Add a wooden bead nose and a jingle bell, and you’ve got the same silhouette as the $35 boutique version. Buy the beard material slightly better than the cheapest option; cheap yarn sheds forever. It pairs beautifully with the green-and-white wreath in Idea #1 if you’re dressing the whole door.

The dark blue door is doing a lot of the work, so check your contrast before you commit. A red-and-white gnome on a warm red or burgundy door disappears; on navy, black, or deep green it sings. Also think about traffic — that fluffy hat collects every bit of lint and pet hair within six feet, and a gnome hung at kid height gets grabbed. Keep it above 48 inches.
6. A Layered White Tree Dotted with Rainbow Pom-Poms
Repetition plus restraint. The tree itself is one color and one material, so the pom-poms are free to be five colors without turning into a mess. The poms also shrink as they climb, which tricks the eye into reading the tree as taller than it is. Swap the poms for wooden beads and you keep the same formula; swap them for glitter balls and you lose the soft, handmade feel that makes this one feel like a kid’s project done well.
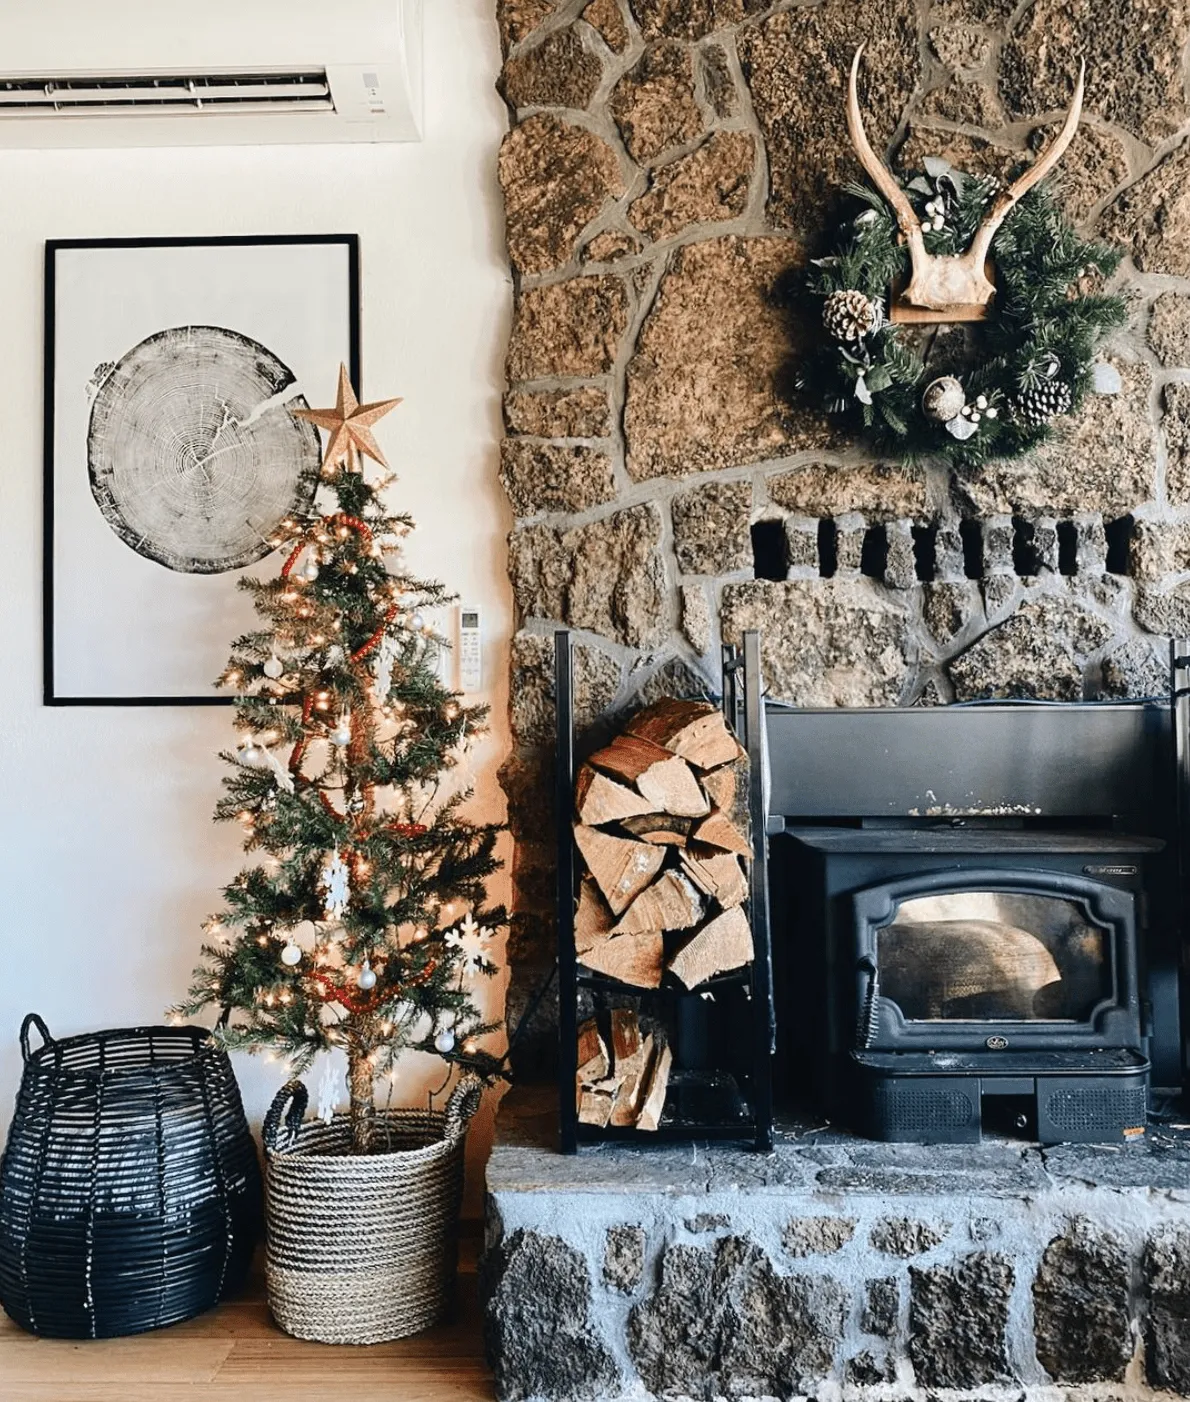
Pom-poms are dust magnets, and hot glue gets brittle in a hot garage. A quick pass with a lint roller keeps them fuzzy, and storing the tree in a closed bin — not a clear bag on an open shelf — prevents the fuzz from matting down. Expect to re-glue two or three poms every season. If you’ve got a cat, keep this above 40 inches; those soft balls are the perfect size for batting around at 3 a.m.
7. Ornaments Styled in Bowls, Trays, and Jars
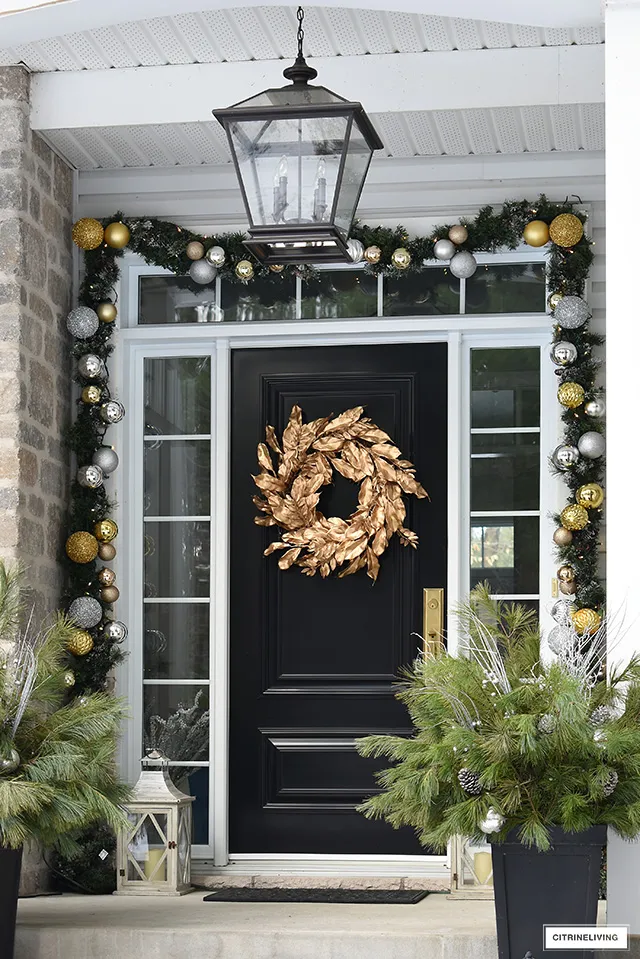
The formula is 60 percent neutral, 30 percent one accent, 10 percent shimmer. Fill a bowl with mostly matte white and cream balls, layer in a single color — red, forest green, or this year’s muted blue — and finish with three or four metallic or glitter pieces on top. Because the ratio carries the look, you can swap the accent color every year and keep the same neutral filler. That’s how a $20 bowl of Dollar Tree ornaments stays usable for a decade.
- Vessels — two bowls, one tray, one glass jar: $5–$15
- Ornaments — 40 assorted, mixed sizes: $20–$40
- Filler — faux greenery or pinecones: $4–$10
- Ribbon or twine: $3–$8
Total: $32–$73
Budget alternative: shop your own tree. Pull the ornaments you never actually hang, group them by color, and you’ve got a styled bowl for zero dollars.
8. Frosted Mini Trees Under Glass Cloches
This one lives or dies by the surface. You want at least 36 inches of width and 12 inches of depth — a console, a sideboard, or a deep bookshelf. The trees themselves should top out between 6 and 10 inches inside a cloche, and the cloche shouldn’t be more than two inches wider than the tree or the tree floats. On a shelf under 8 inches deep, drop the cloches entirely and arrange the trees alone, the way the miniature village in Idea #21 handles a shallow surface.
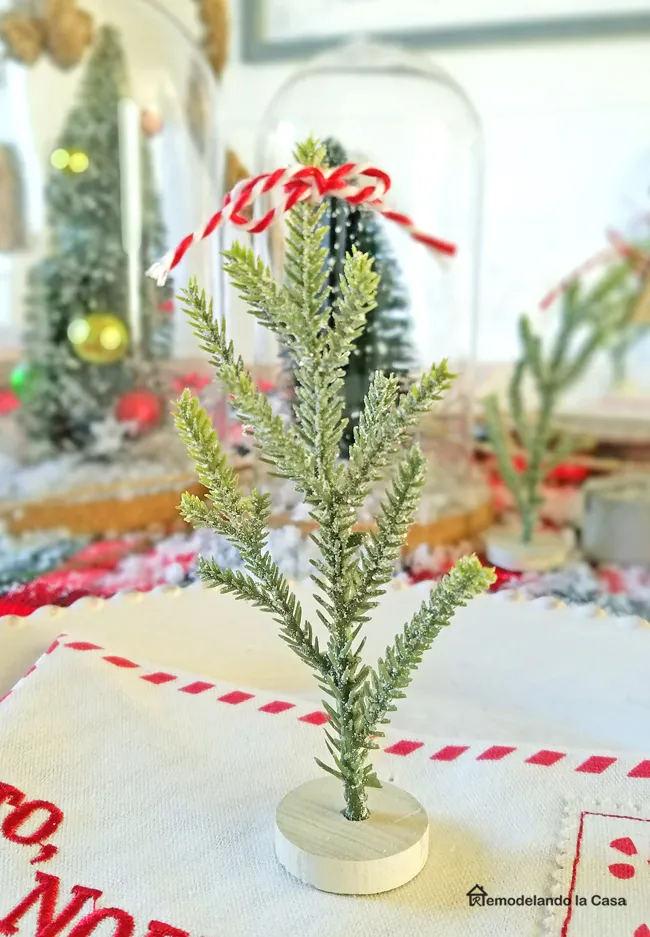
Group in odd numbers and stagger heights by 3 to 5 inches so the eye steps down instead of flatlining. Put the tallest cloche slightly off center — a third of the way in, not dead middle — and keep the two shortest in front. If your surface is reflective glass or polished wood, cut a piece of felt under each piece so nothing scratches and nothing slides when somebody bumps the table.
9. A Wire Form Wreath Built from Loose Greenery Stems
- Bend a wire or grapevine form into a full circle and check it against your door width.
- Cut or separate stems into 6-inch sprigs so you have a pile of similar lengths.
- Wire the first sprig at the 6 position, wrapping the stem twice around the form.
- Layer each new sprig over the previous one’s base, working counterclockwise, so the cut ends stay hidden.
- Fill the last gap by tucking sprigs in from the back and bending the wire tips down.

Time: about 40 minutes. Cost: $8 to $12 for two or three bundles of stems.
Faux greenery is low-maintenance, not maintenance-free. Once a season, take the wreath outside and hit it with a hair dryer on the cool setting to blow out dust — a vacuum brush attachment on low works too. Sun and heat fade the dye, so a wreath on a west-facing door will look tired in two seasons while the same wreath on a shaded interior door lasts five. Store it in a round box, not squashed under a bed.
10. White Disc Ornaments with Jingle Bells and Pinecones
Dollar Tree wooden discs run about $1.25 for a four-pack. Paint them white, drill a small hole at the top, thread a loop of twine, then glue a mini pinecone and a single jingle bell to the face. You’re at roughly $4 for four finished ornaments; the boutique versions of this exact look sell for $22 to $28 a set. Buy the bells in a multipack rather than singles and you’ll halve the per-ornament cost again.

It’s the flat disc. Round ornaments disappear into a tree’s silhouette — they’re the same shape as everything else hanging there. A disc breaks that up and gives you a surface to build on, which is why these read clearly from across the room and photograph beautifully. Remove the disc and you’ve got a pinecone and a bell, which is pleasant but generic. The disc is what makes it a design.
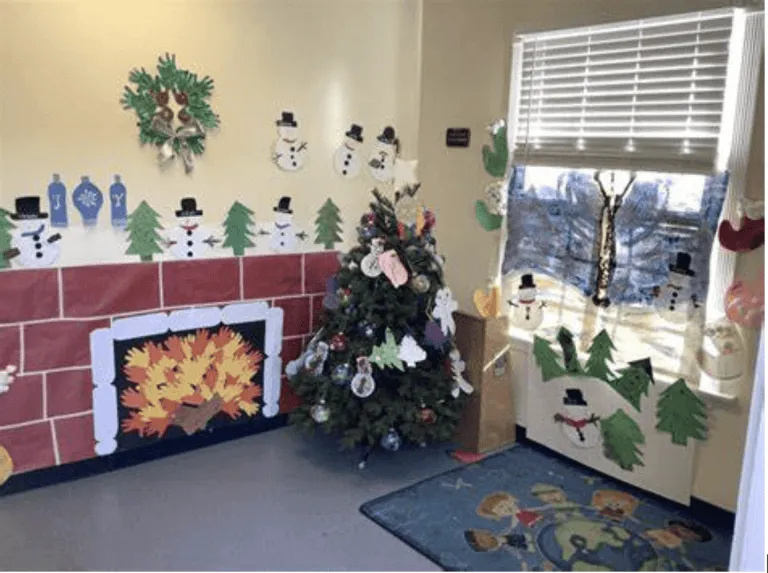
11. Stretching One Budget Across a Whole Wall of Decor
- Measure the full wall width and height before buying a single garland — you’ll need roughly 1.5 times the width to get any swag at all.
- Find your nearest outlet and decide now whether you’re using battery lights or an extension cord.
- Pull everything you already own and lay it out on the floor — you usually need to buy half as much as you think.
- Set a hard dollar cap before you walk into the store.
- Check that nothing hangs within 12 inches of a heat source, candle, or fireplace.
- Garland — 3 to 4 strands: $15–$30
- Hanging hardware — strips, hooks, zip ties: $8–$15
- Ornaments and filler picks: $15–$30
- Lights: $10–$20
Total: $48–$95
Budget alternative: build one really strong 4-foot section instead of stretching across 12 feet. Density beats coverage every time — nobody notices an empty corner, but everybody notices a sparse garland.
12. Jumbo Ornaments That Read From the Sidewalk
Oversized ornaments need air around them. The rule I use: one jumbo ornament per 12 to 18 inches of wall width, and never more than five in a cluster. A 12- to 18-inch ornament works on an 8-foot entry wall or a covered porch; below that it starts to look like a beach ball taped to the house. Leave 4 to 6 inches of breathing room between them and stagger the heights rather than lining them up.
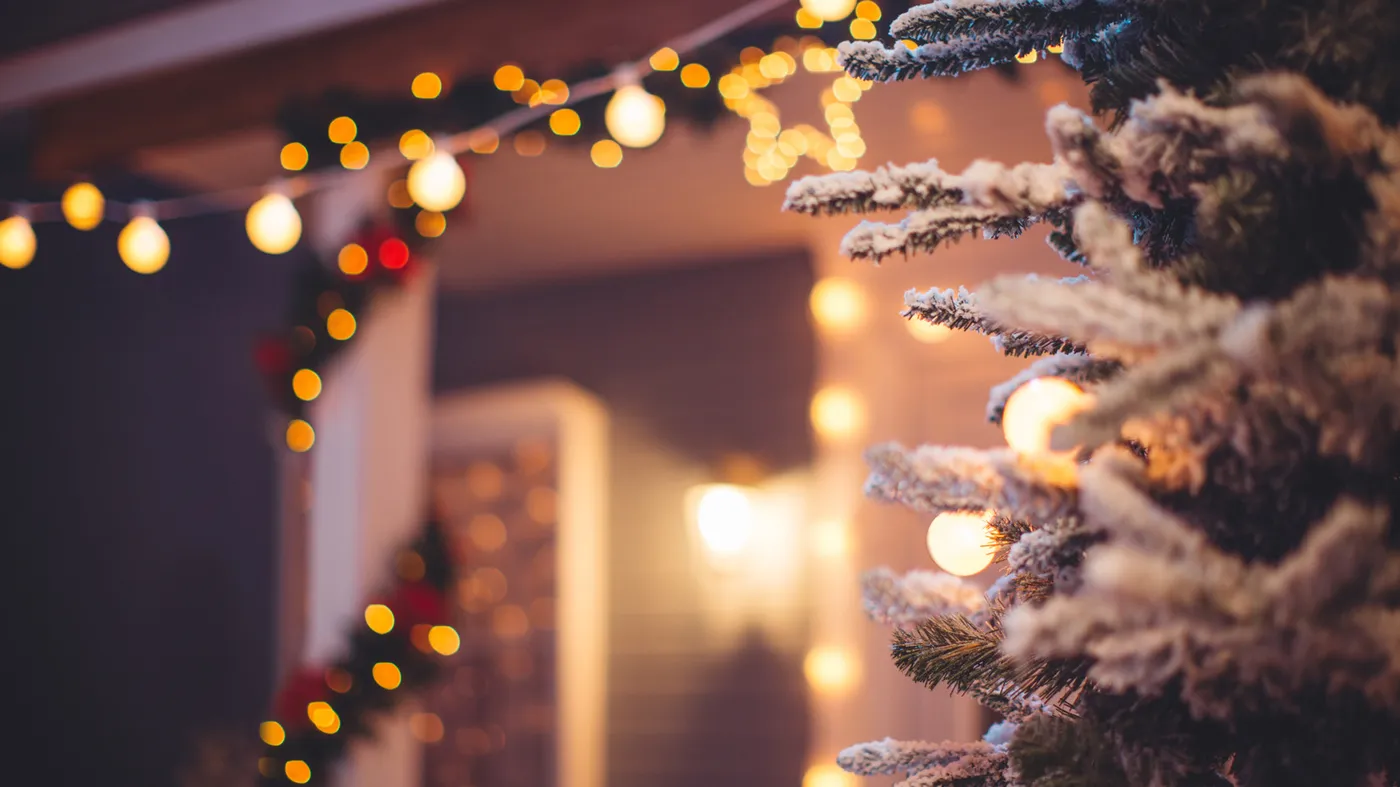
A bag of 12 shatterproof ornaments in a 4-inch size is about $6 at Walmart, and Dollar Tree sells plastic bowls that, glued rim to rim and spray-painted, become a 14-inch ornament shell for about $3. Add a $1 twine loop and a painted cap and five jumbo ornaments cost you under $20. Compare that to $25 to $40 each for the store-bought versions and you can see why this one gets reinvented every single year.
13. A Gold Glitter Tree Nested in a Glass Serving Bowl
Layer, don’t perch. Set the ornament on a small ring of crumpled tissue or a handful of tinsel inside the bowl so it sits low and looks nested rather than balanced on a plate. A 4- to 5-inch ornament in a 6-inch bowl is the sweet spot — any bigger and the bowl becomes a pedestal. And keep the glitter to one item per place setting; a glitter ornament plus a glitter charger plus a glitter napkin ring turns elegant into craft fair in about five seconds.
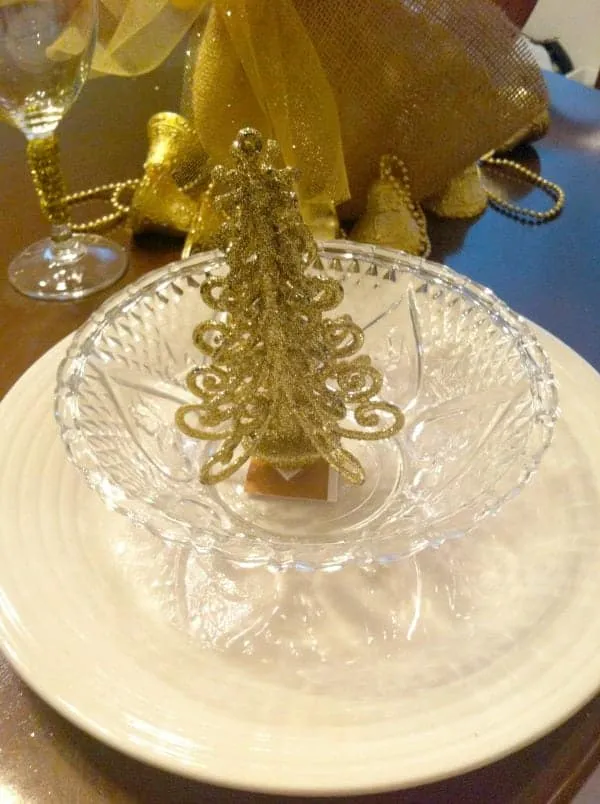
70 percent white china, 20 percent gold, 10 percent clear glass. The white plate is your neutral base, the gold ornament and beaded stem carry the accent, and the clear bowl is the nothing that keeps it from getting heavy. To move the same formula into a different holiday, swap gold for brushed silver, or trade the glitter tree for a single matte red ball and a cedar sprig. The ratio travels; the objects are interchangeable.
14. A Fuzzy Boa-Wrapped Vase Holding Berry Branches
It’s a texture sandwich. You’ve got soft (the white boa), hard and shiny (clear glass), and rough and matte (bare twigs) — three surfaces that make each other look better by sitting next to one another. The red-and-white checkered ribbon is the element that ties the winter palette together without adding a fourth texture. Take the boa away and it’s just a vase with sticks in it; the boa is what makes people walk over and touch it.
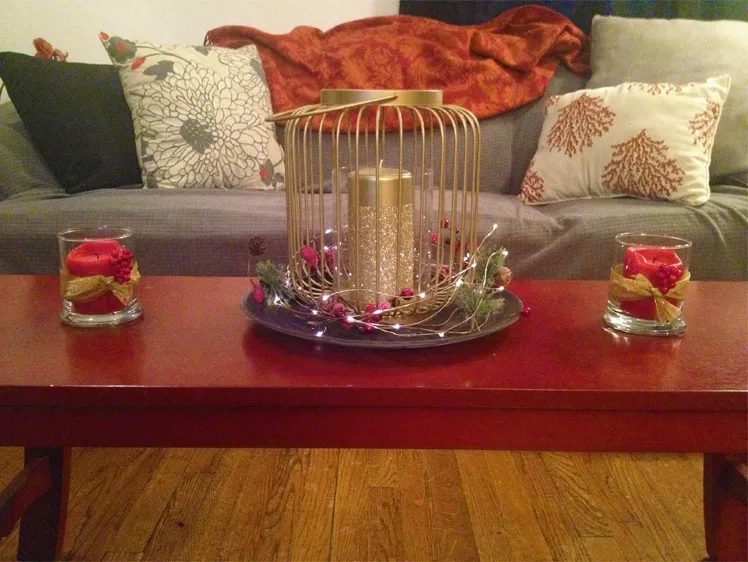
Texture-first decorating is the story of the 2026 holiday season. After years of glitter and light-up everything, people are pinning faux fur, boucle, chunky knits, and flocked greenery. The boa vase fits perfectly because it’s a $4 trim doing the work of a $60 designer accessory — and it’s the kind of thing you can make while watching a movie, which matters when everyone’s holiday budget is doing three jobs at once.
15. Marbled Resin Trays and Jars for Gift-Worthy Decor
- Resin kit, 16 oz: $18–$30
- Silicone molds — tray, jar, coaster: $8–$20
- Pigment, white plus one color: $6–$12
- Dollar Tree jars and trays as liners or inserts: $4–$8

Total: $36–$70
Budget alternative: skip the resin. Marble a plain Dollar Tree tray with white and gray acrylic paint, swirl it with a toothpick, and seal with two coats of matte sealer — about $6 for a very similar effect.
Work in small batches, 2 to 3 ounces at a time, and measure your two parts by volume rather than by eye or the piece stays tacky forever. Pour a thin white base layer, then drizzle your second color in a zigzag and drag a toothpick through it once, in one direction only. Overworking the swirl is the number one reason DIY resin looks muddy instead of marbled. Cure 24 hours in a dust-free spot; a cardboard box works fine.
16. A Glitter Mesh Loop Wreath on a Frosted Door
Deco mesh came back hard. That bold purple-and-lime palette looks loud on a wreath form, and that’s exactly what’s showing up in maximalist holiday pins right now. The reason is simple: mesh holds its shape, so a wreath made with it looks full and expensive from ten feet away. It’s also the cheapest route to a 24-inch wreath — three rolls of mesh run about $12 total and fill a form that would take $60 worth of stems.
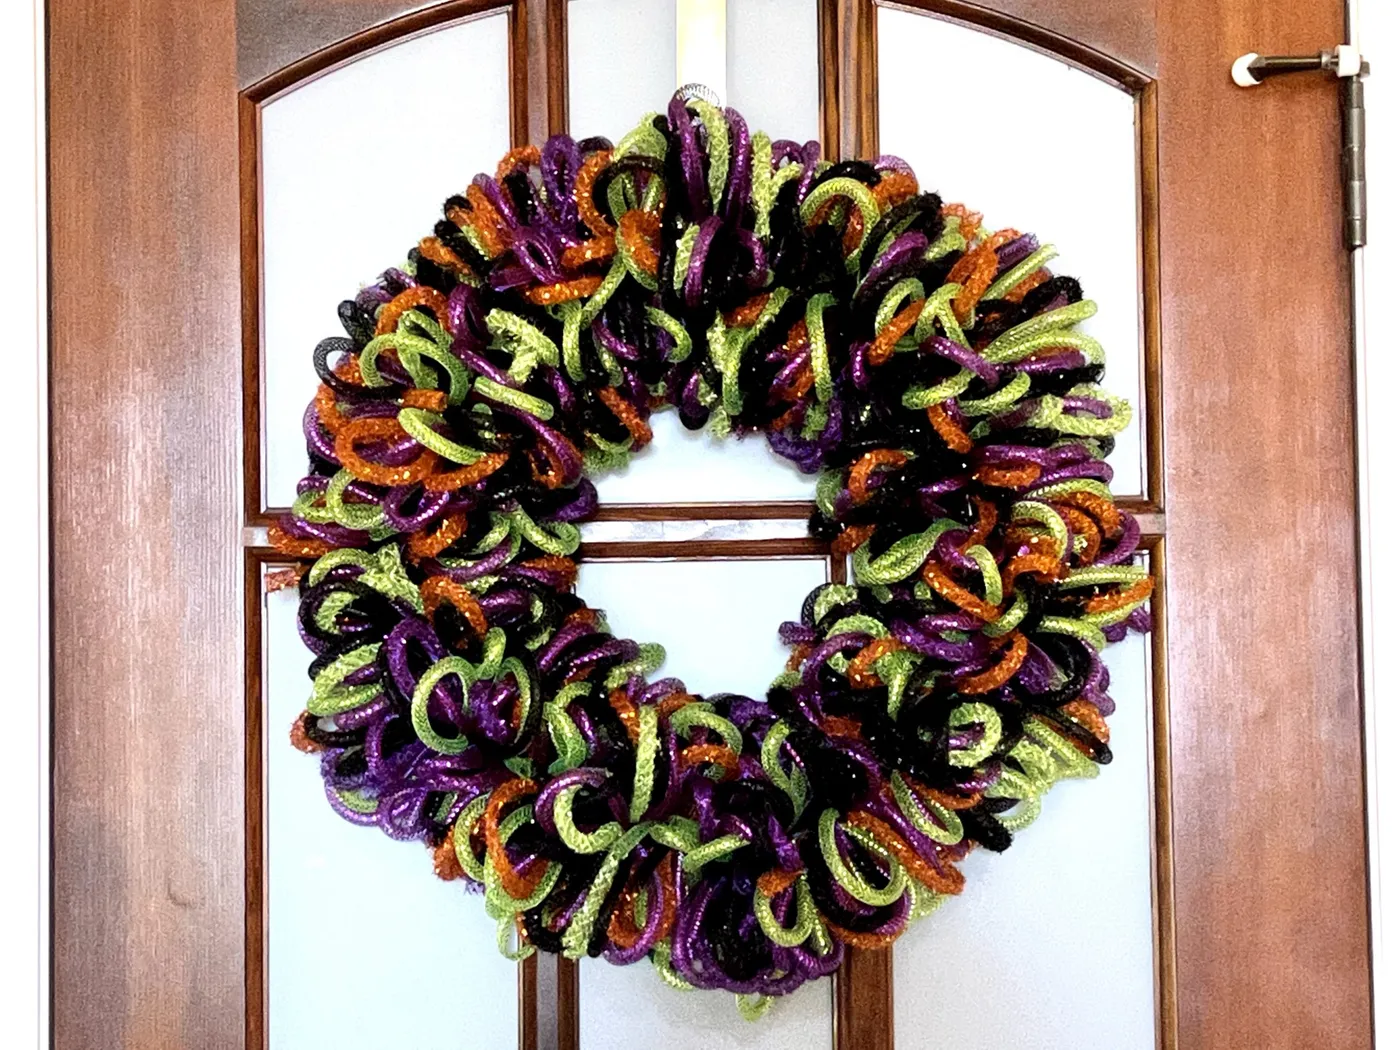
Two warnings. First, glitter mesh sheds, a lot. Make it, shake it outside, then hit it with a matte sealant spray so you’re not vacuuming sparkles until March. Second, frosted glass panels bounce light straight back at the wreath, which looks great in person and rough in photos if you’re using a flash. Turn the flash off and shoot from the side, or hang the wreath on the wood frame instead of the glass.
17. Personalized Jingle Bell Ornaments for Every Name
The name. That’s the whole idea — a jingle bell with a name and a year painted on it in white is a keepsake; the same bell without the name is just a bell. Personalization is the one thing you can’t buy around, which is why these get saved and rehung for twenty years while the trendy ornaments quietly vanish from the box. If you’re making them in batches, write the names first, then decorate around the lettering so the words stay readable.
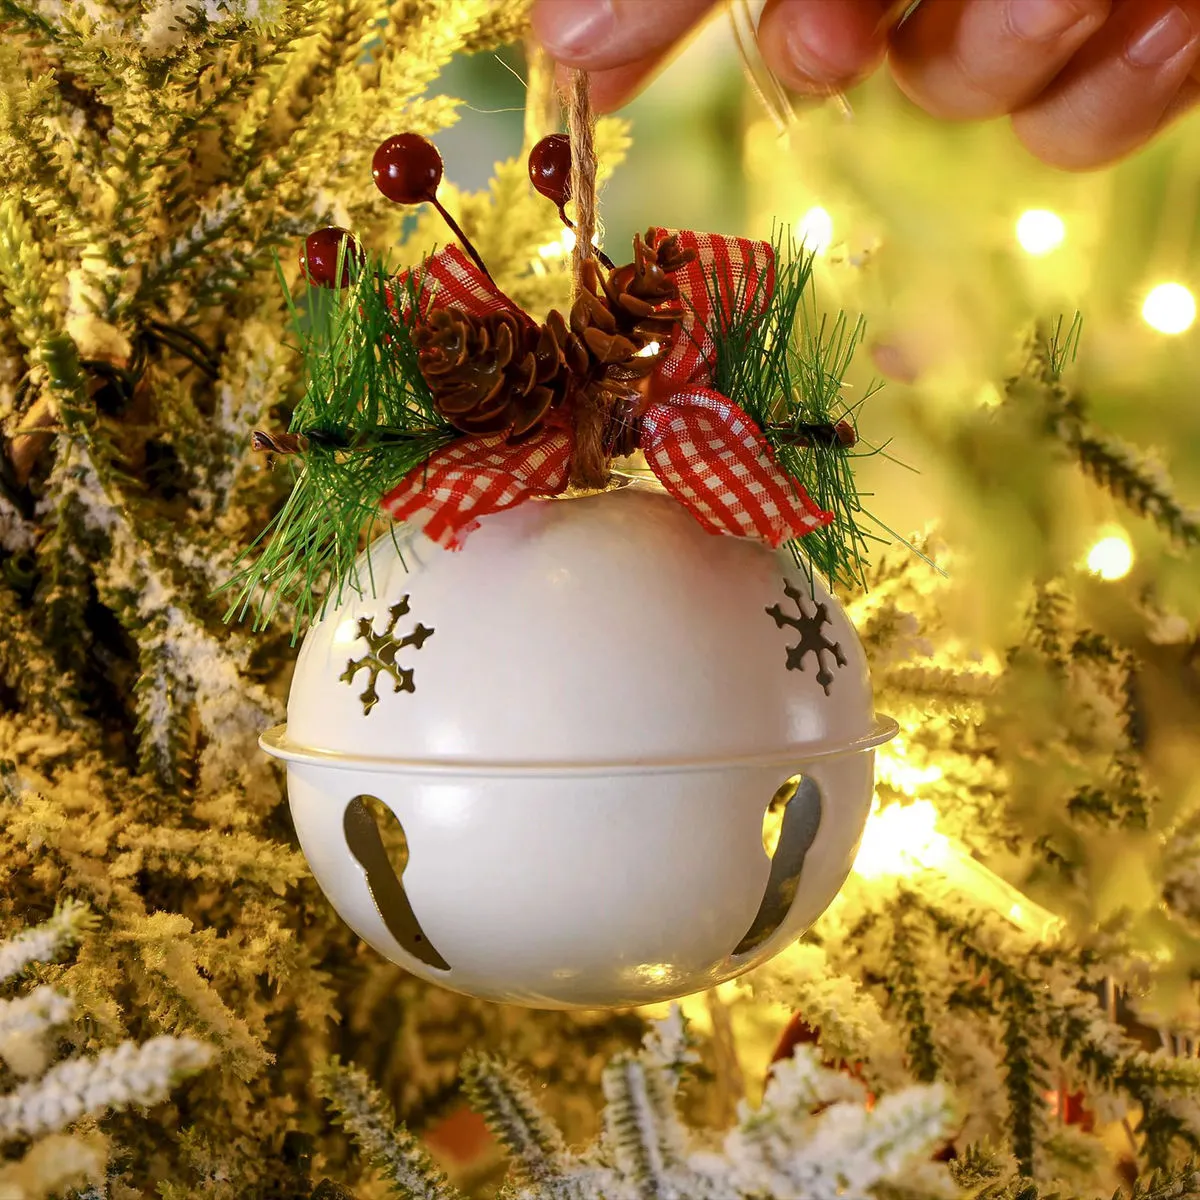
Skip the custom-order markup entirely:
- Jingle bells, 6-pack: $1.25–$3
- Paint pen, fine tip, white or gold: $2–$4
- Twine or velvet ribbon, 3 yards: $1–$3
- Small wooden tag or disc, 8-pack: $1.25–$3
That’s roughly $6 to $13 for a set of six. Custom-engraved versions sell for $15 to $22 each, so a family of five saves about $70 making their own — and honestly, the slightly wobbly handwriting is the part people keep.
18. A Flocked Mini Tree in Buffalo Plaid and a Knit Pot
A 24- to 30-inch flocked tree is the sweet spot for a console, a kitchen counter end, or a deep windowsill. Give the whole vignette about 24 inches of width: tree in the center, deer and bottle brush trees flanking it, candles just in front. You need 14 inches of depth minimum to fit the knit pot and still see the backdrop. In a tighter spot, like a 10-inch shelf, drop to a 12-inch tree and skip the pot entirely.
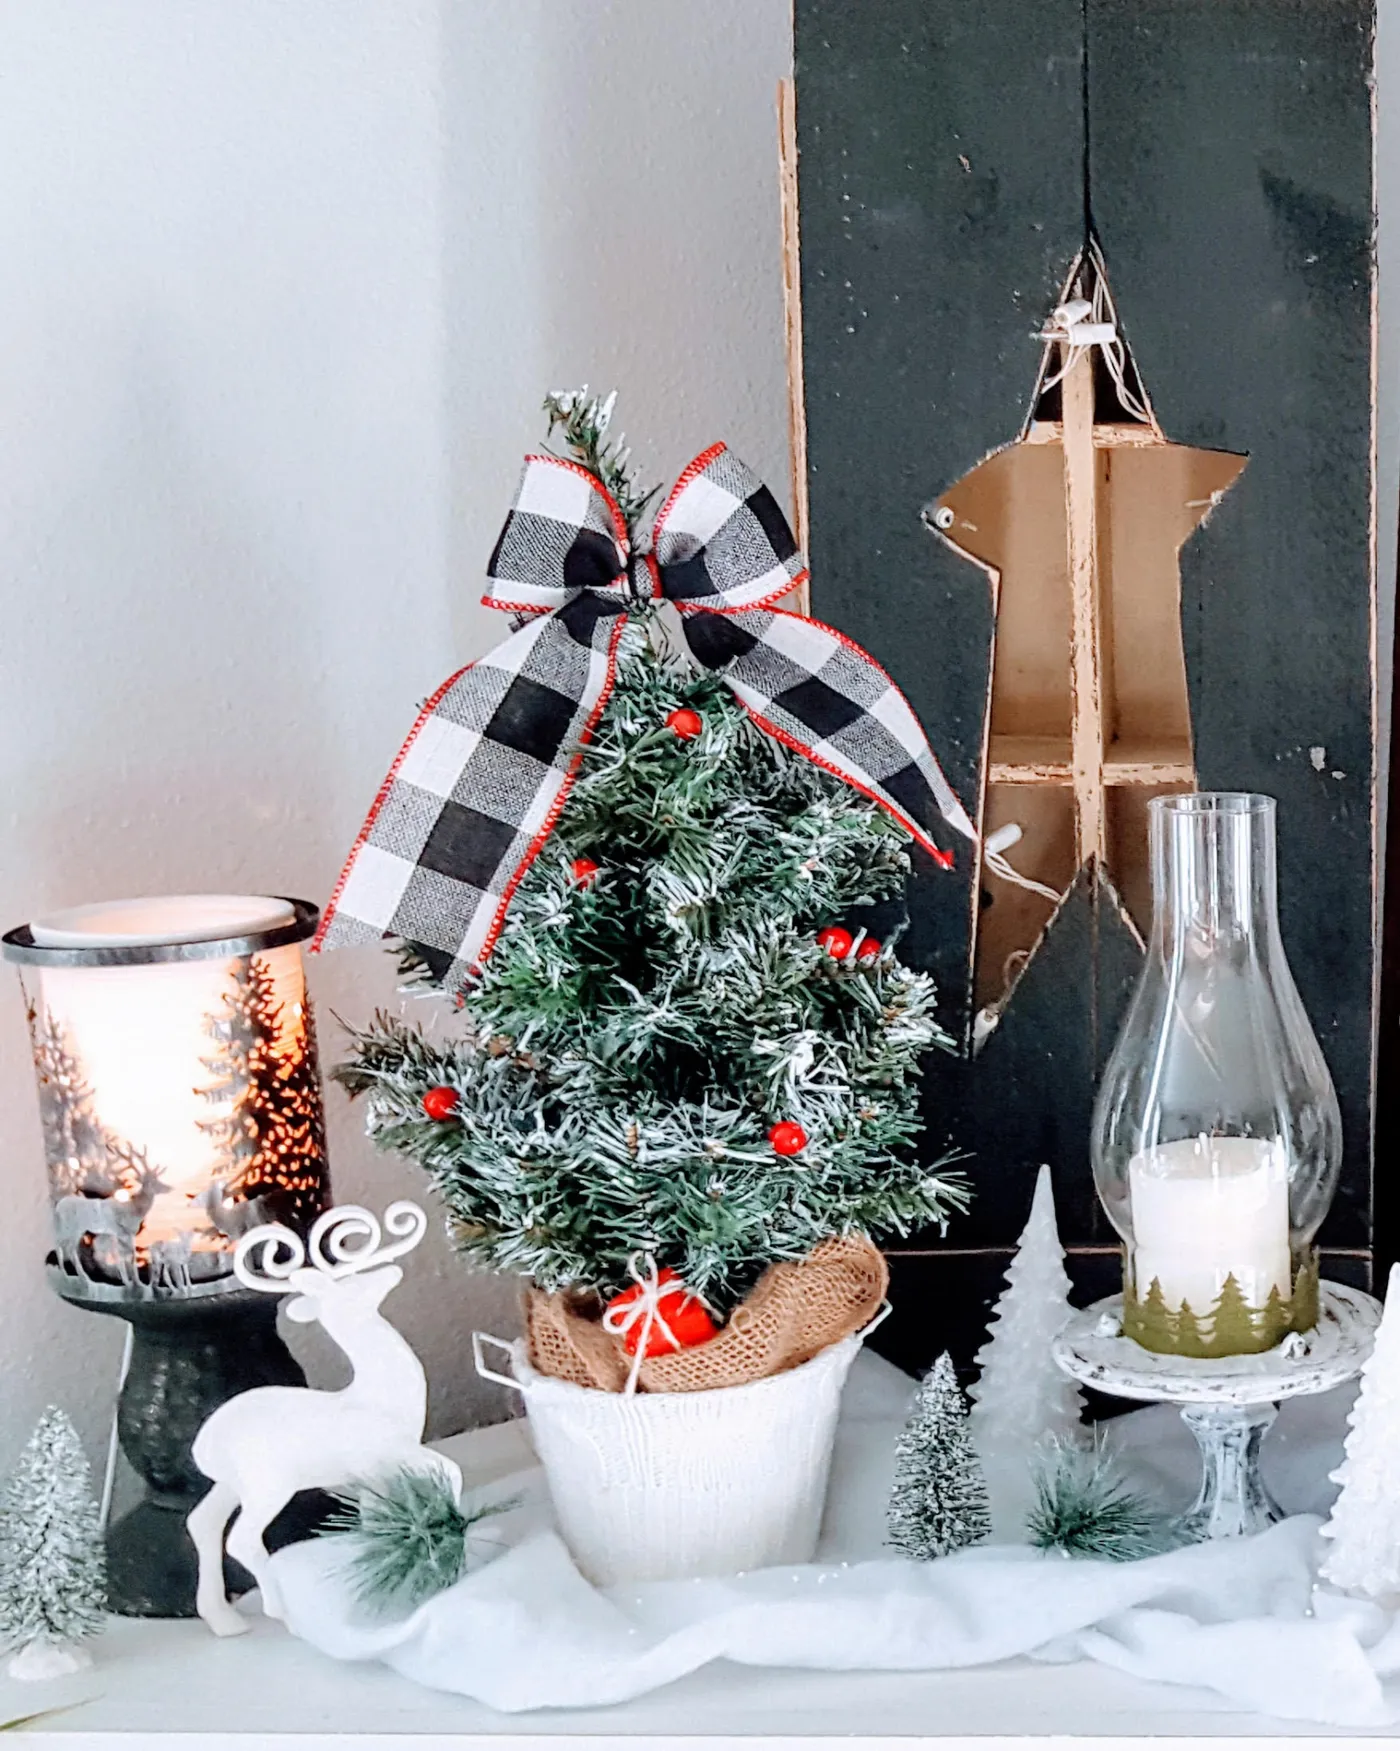
Pattern scale is doing all the heavy lifting. Buffalo plaid is a big, bold check, so everything around it stays small and quiet — tiny bottle brush trees, thin berries, a plain white pot with knit texture instead of a pattern. Swap in a small-scale check and the display turns busy fast. Flocking helps too: it softens the green and makes a $12 tree read like something you’d find at a ski lodge.
19. White Paneling, a Tufted Bench, and Red Velvet
60 percent white paneling and trim, 25 percent beige and light wood, 15 percent red. That’s it. The red shows up in exactly four places — the cushion, the wall art, the poinsettia, and the ribbon on the gifts — which is enough to read as a Christmas nook without turning the corner into a red room. Swap red for deep forest green and you get a calmer, more grown-up version of the same formula; swap it for navy and the whole thing reads wintry instead of holiday.
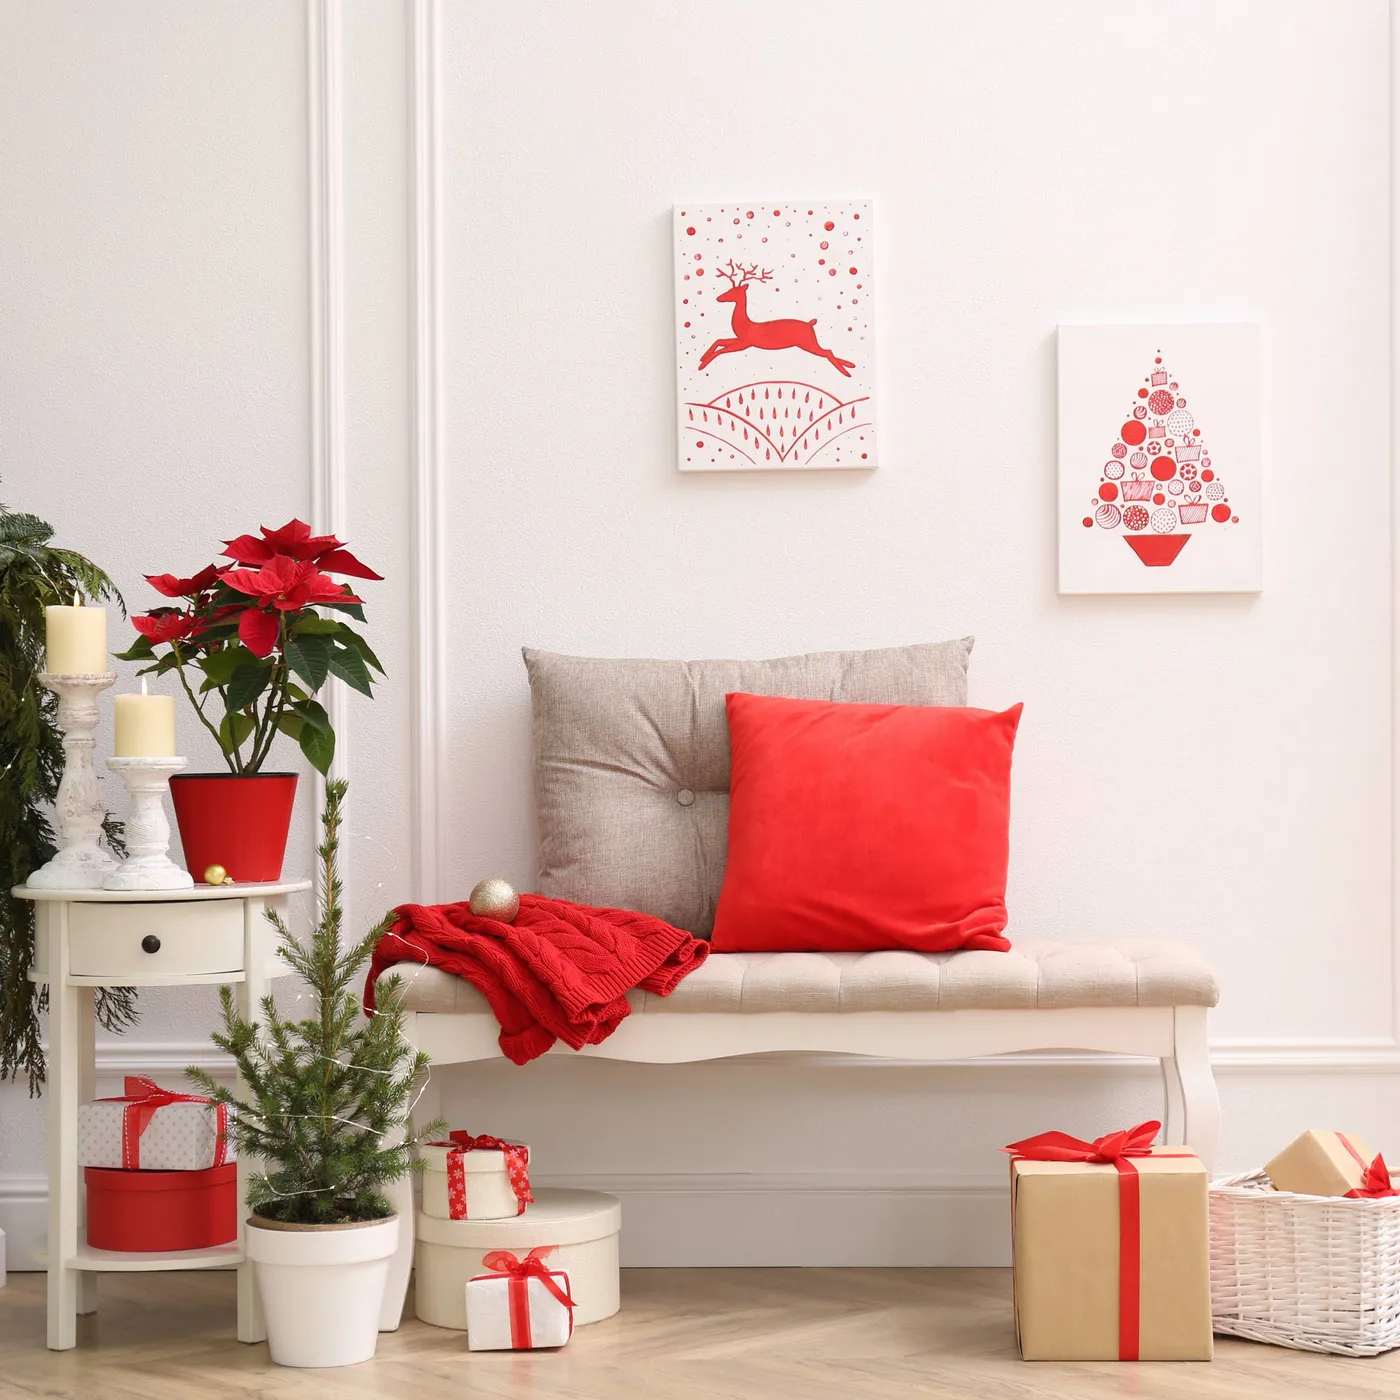
Hang the art so its center sits 57 to 60 inches from the floor — eye level for most adults — and leave 6 to 8 inches between the bottom of the frame and the back of the bench. Any tighter and the art looks like it’s resting on the furniture. On paneled walls, use a small nail with a touch of putty instead of adhesive strips; they pull paint off beadboard every single time.
20. Hot Glue, Pinecones, and Berry Sprigs in Assembly
Make one floral pick in about 10 minutes; materials cost $1 to $3.
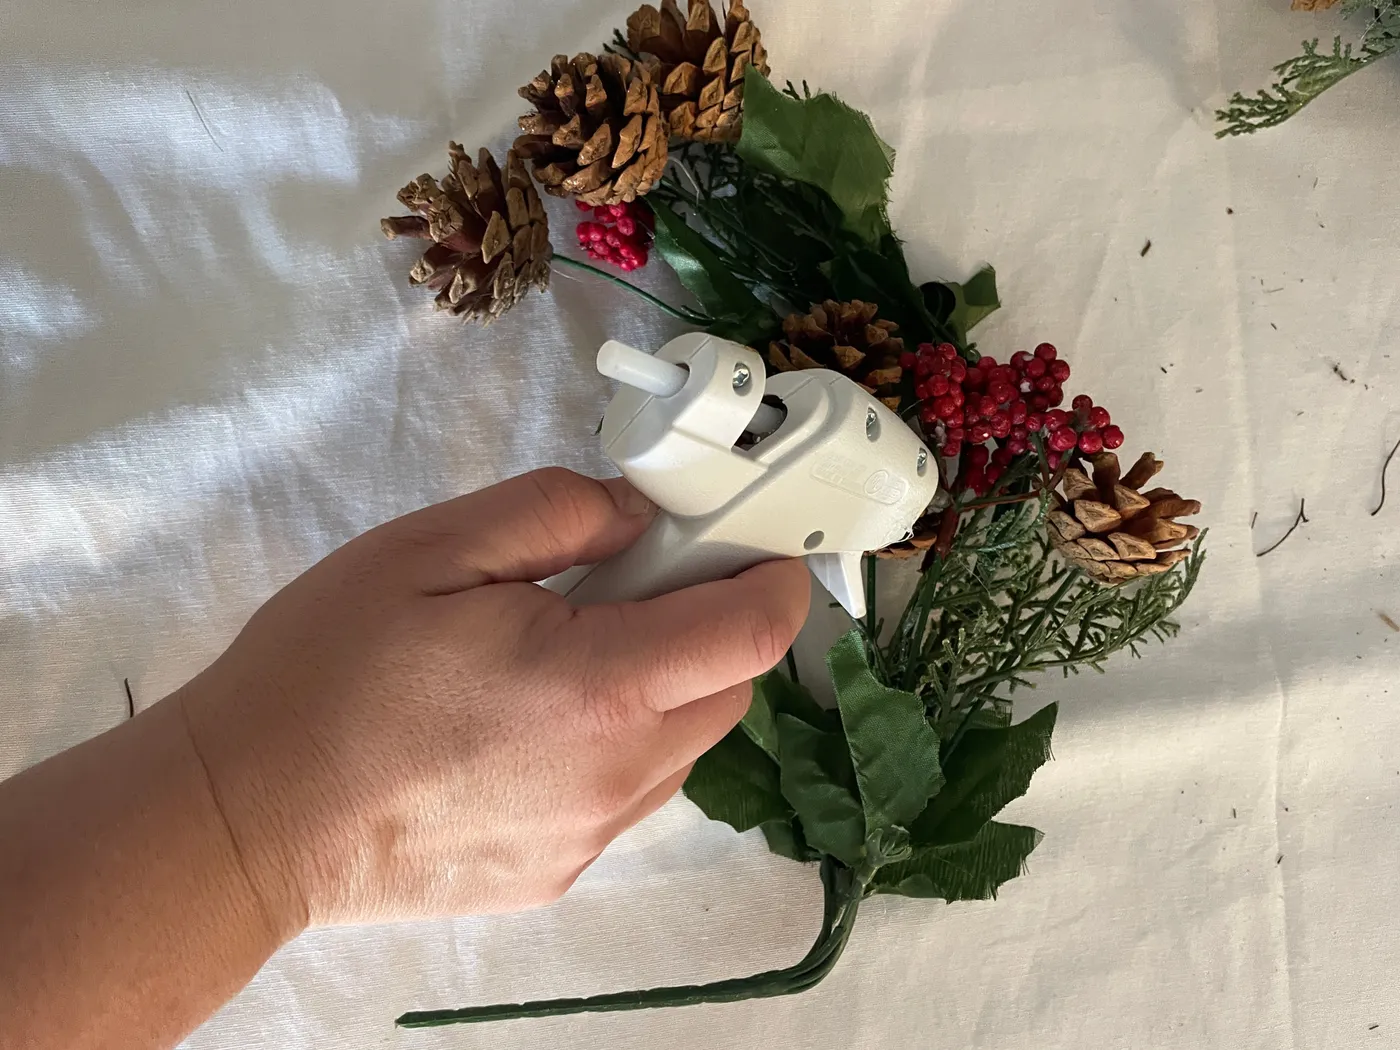
- Lay the pinecone, two berry sprigs, and a small piece of greenery in a fan on your work surface — no glue yet.
- Trim the stems to a half inch so everything sits flush.
- Run a bead of hot glue along the base of the pinecone, not on the sprigs.
- Press the sprigs into the glue and hold for 15 seconds — hot glue grabs fast but doesn’t hold well on cold, waxy surfaces.
- Wrap the bundle’s base with floral tape or twine to hide the join.
Hot glue is temperature-sensitive. It holds beautifully in a cool room and releases in a hot car, an attic, or a sunny windowsill — which means anything glued together in November can fall apart by January if it’s stored wrong. Keep finished pieces between 60 and 75 degrees. Test each pick after 24 hours with a gentle tug; if it moves, re-glue with a dot of E6000 for a permanent bond.
21. A Miniature White Village Raised on Wood Slices
Give the village 24 to 36 inches of width and at least 10 inches of depth — the houses need to step back in layers or they read as a flat row. Buildings between 3 and 6 inches tall are the useful range; anything under 2 inches gets lost. The wood slices are the trick that makes this work: raising the back row by an inch and a half buys you the sense of a hillside. On a shelf under 8 inches deep, drop the slices and run one flat line with the tallest piece at the back.
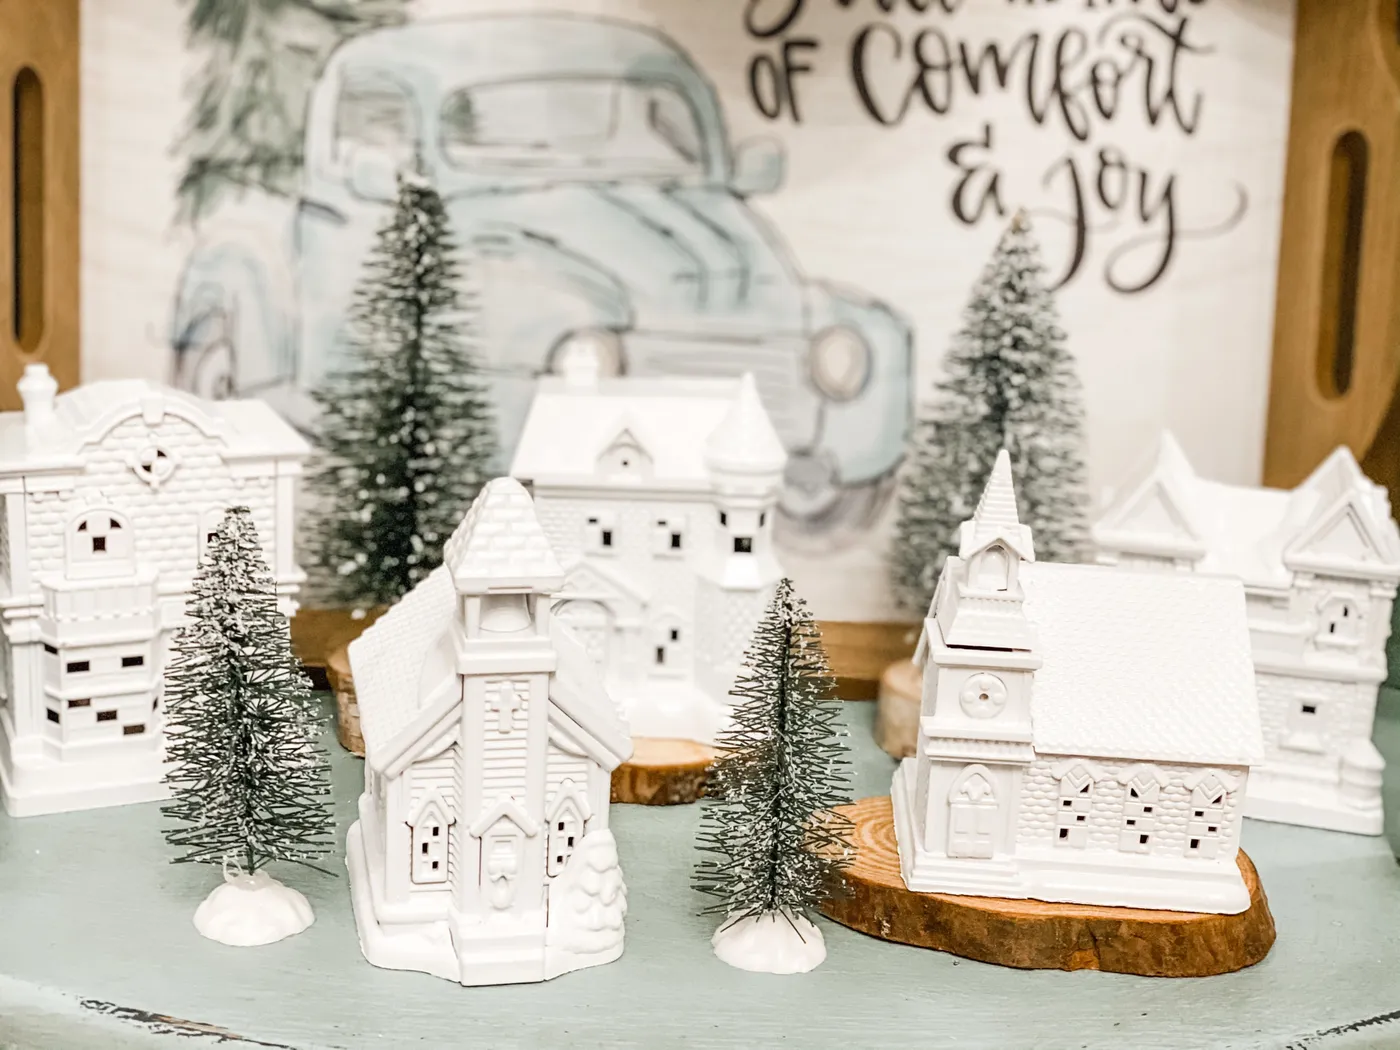
- Ceramic village houses, 4 to 6 pieces: $12–$30
- Flocked bottle brush trees, assorted: $8–$18
- Wood slices, 3 to 5: $5–$12
- Greenery or faux snow: $5–$12
- Distressed green board for the surface: $0–$15
Total: $30–$87
Budget alternative: Dollar Tree sells mini ceramic-look houses every November for $1.25 to $3. Six houses plus three bottle brush trees lands you around $15.
22. Glitter Deer and Gold Candlesticks on Faux Snow
The faux snow. Everything else — the deer, the candlesticks, the feathery trees — is something you’ve seen on a hundred tables. The snow is what makes the arrangement read as one scene instead of five objects sharing a surface. It hides the bases, softens the reflections, and gives the candlelight something to bounce off. Take it away and you’ve got a nice assortment of decorations; keep it and you’ve got a little winter landscape on your sideboard.

Candles on faux snow deserve a closer look. Real tapers need 3 inches of clearance from anything combustible, and a lot of faux snow is polyester batting — exactly the kind of thing you don’t want near a flame. Use LED tapers in the candlesticks and save the real ones for the dining table. Also, glitter deer shed; set them on a felt pad if the surface is wood, or you’ll be buffing sparkles out of the finish in January.
23. Three White Floating Shelves Loaded with Whimsy
50 percent white and cream, 30 percent soft pink, 20 percent metallic silver, with small hits of gray and wood to ground it. That pink is the surprise — it’s what keeps a shelf full of gnomes and nutcrackers from reading like a toy store. Swap pink for sage green and the same grouping turns rustic; swap it for icy blue and you’ve got a snow princess ledge. The white shelf itself is a neutral, so it doesn’t count against your ratio.
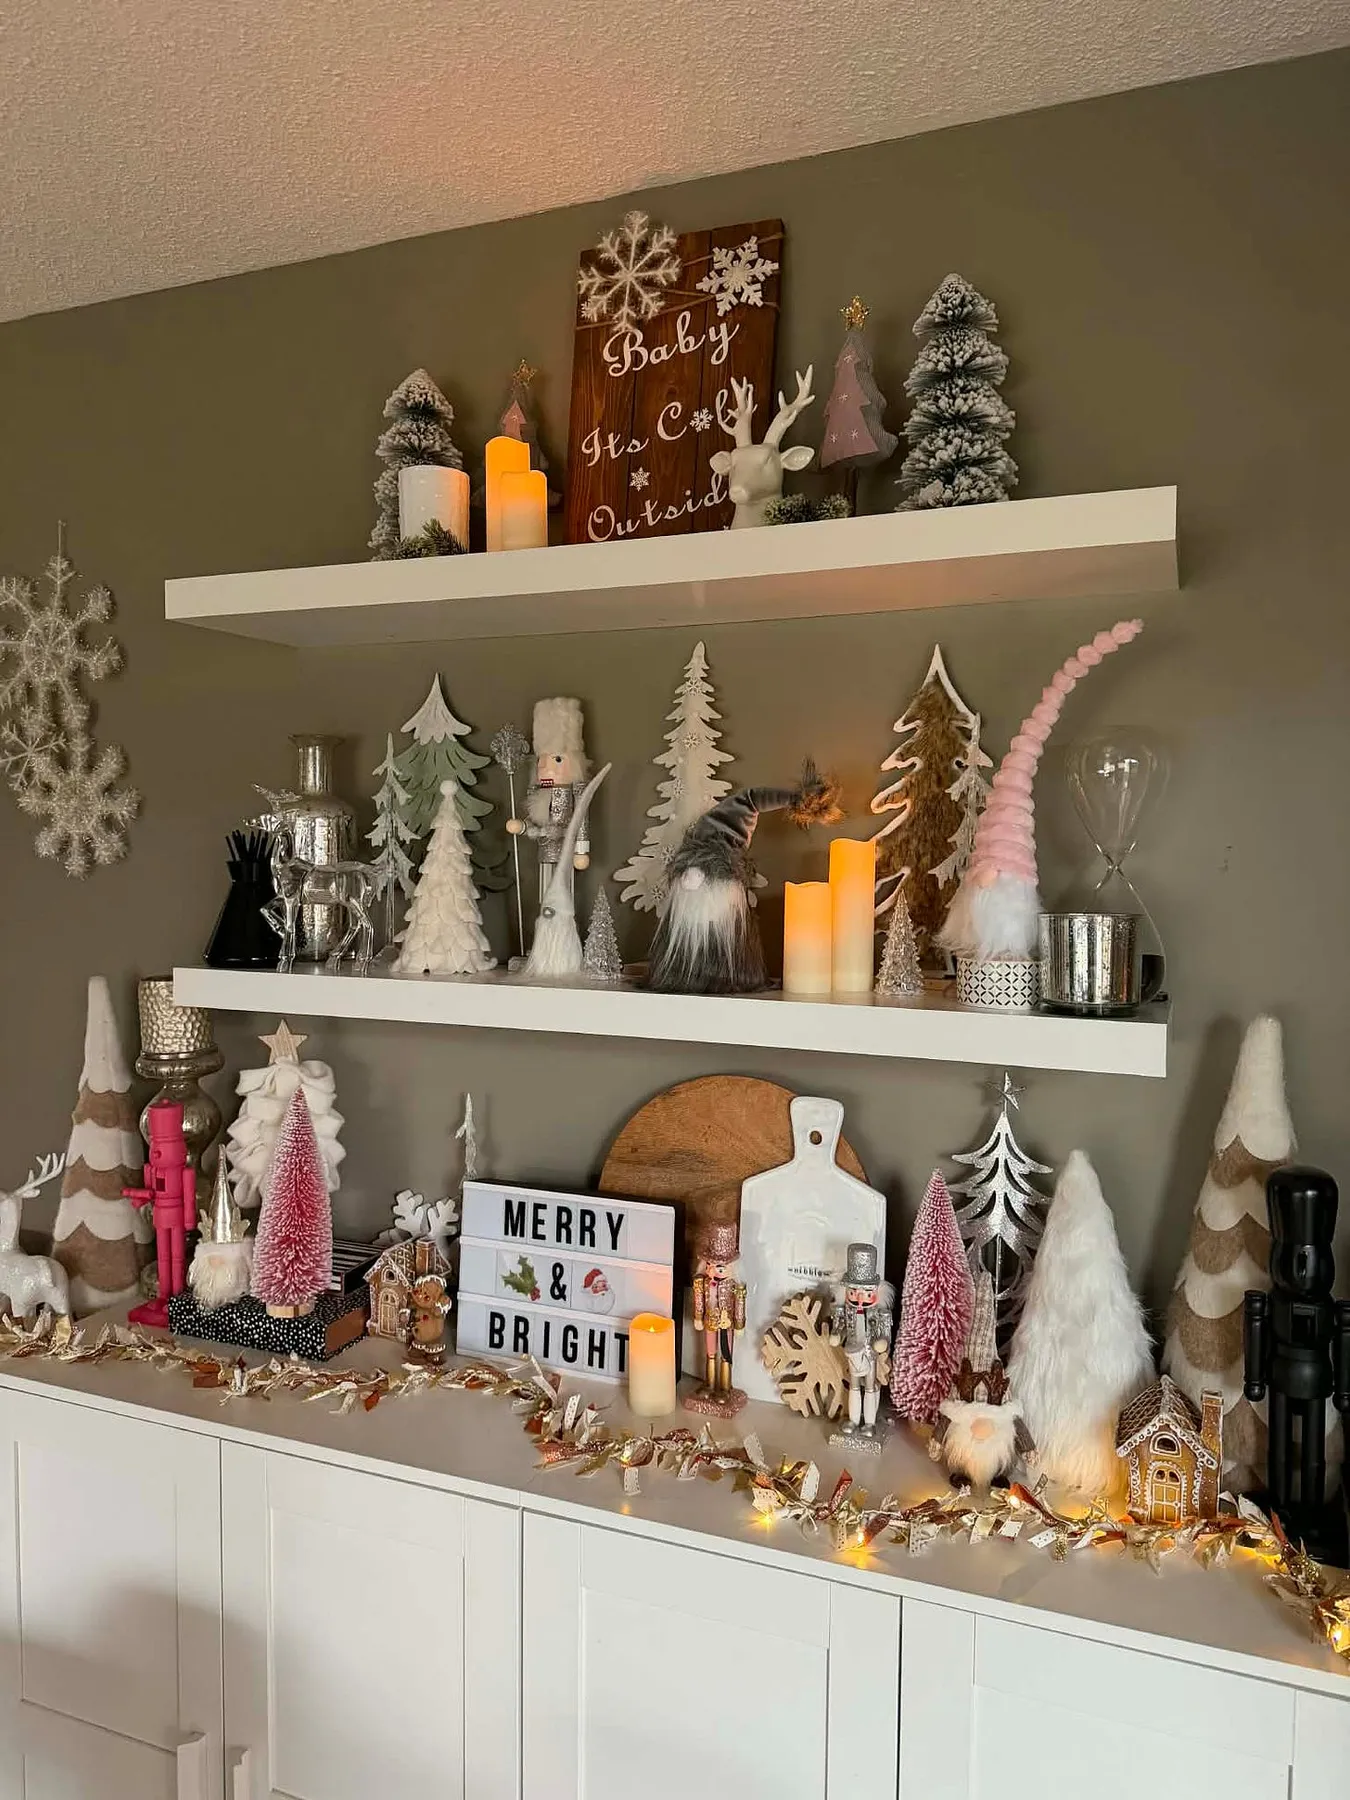
Repetition creates rhythm. Three shelves at the same spacing is a grid, and a grid makes a chaotic collection of small objects feel organized. Within each shelf, put the tallest item at one end, and place each shelf’s tall item on the opposite side from the one above it — an alternating pattern your eye reads as intentional without knowing why. The tiered tray in Idea #24 solves the same problem for people with counter space instead of wall space.
24. A Dark Wood Tiered Tray with a Mini Red Truck
The tray is the only real purchase, and even that can come cheap. A three-tier tray spray-painted dark walnut runs about $6. After that it’s all small items: plaid fabric balls wrapped from Dollar Tree fabric, faux pine sprigs cut from a $5 garland, and mini signs printed on cardstock. The red pickup is a $1 toy-aisle find. Total, roughly $25 — well under the $70 to $120 a styled tray like this sells for at a holiday market.
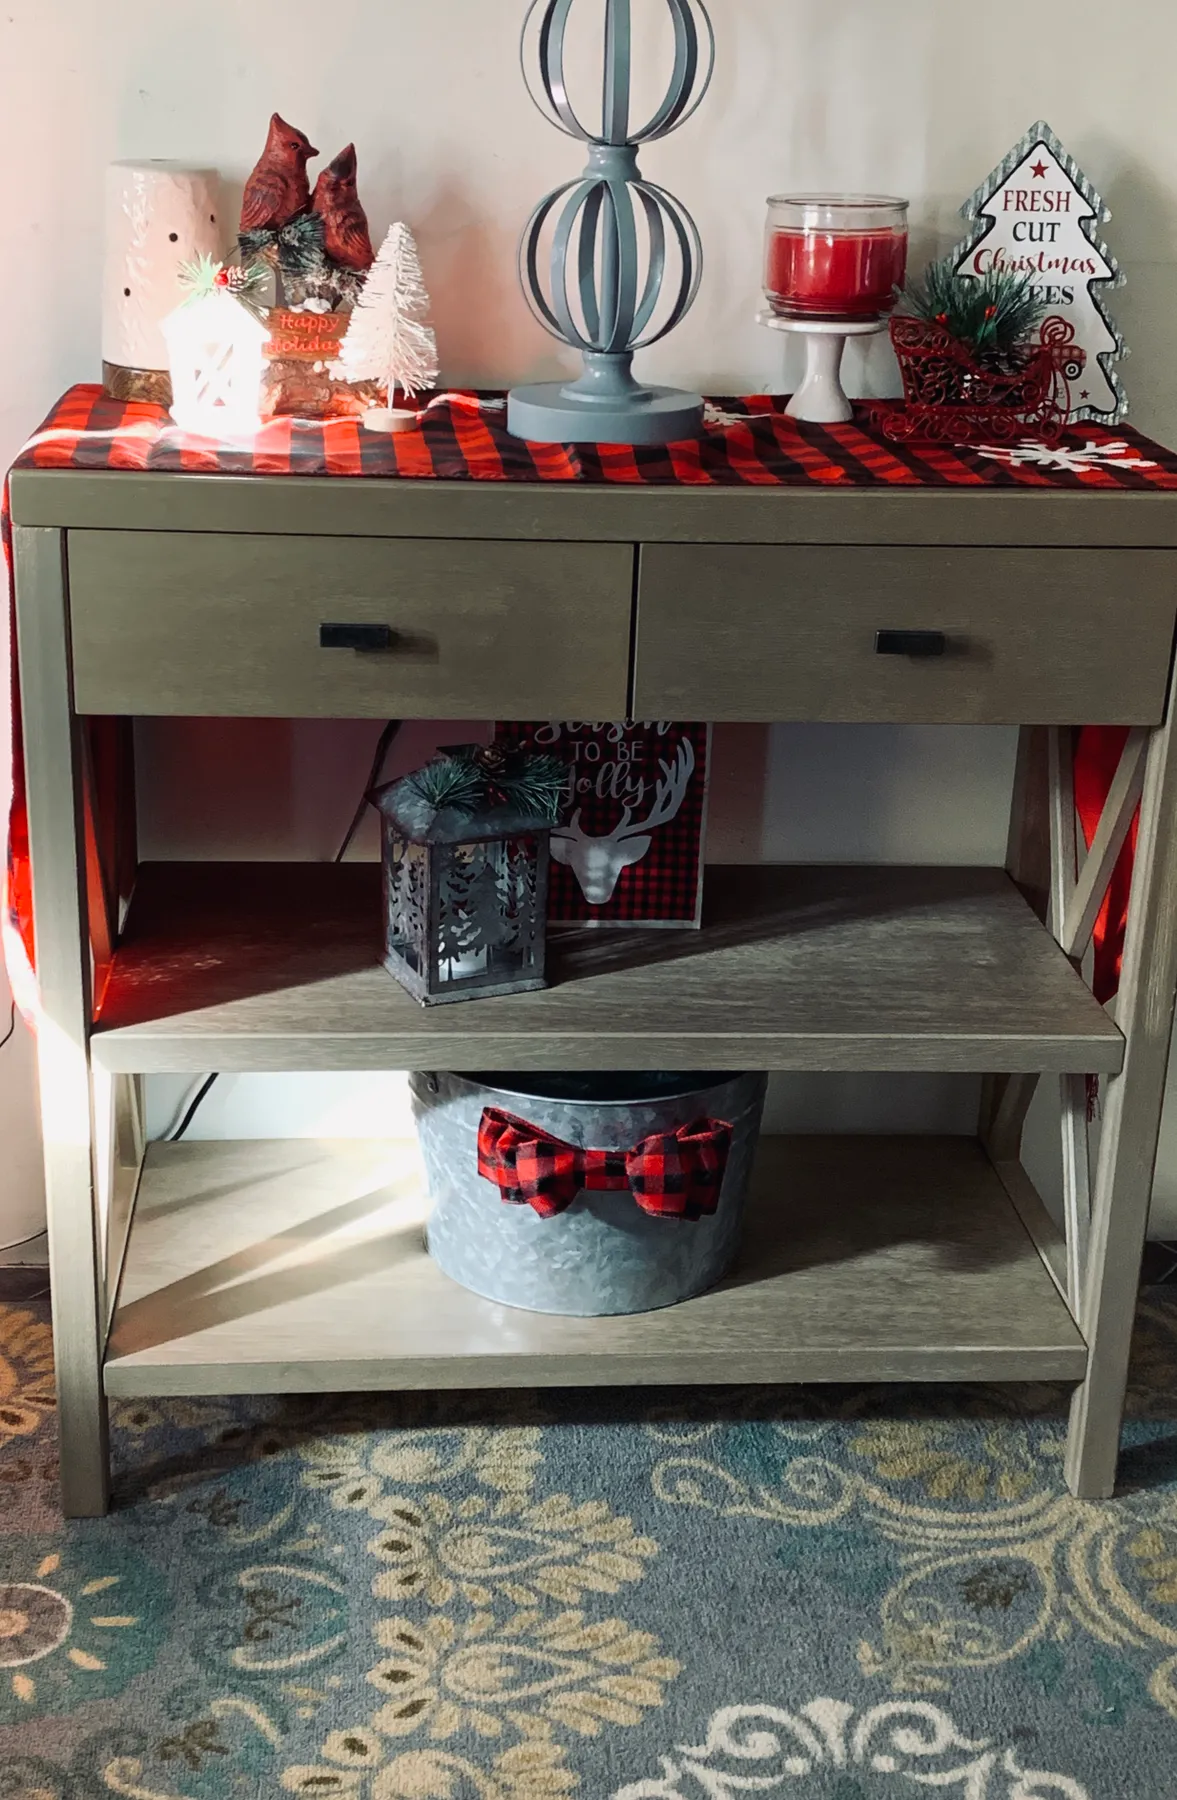
The truck. Without it, a tiered tray is just red and green stuff arranged on three levels, which is pleasant but forgettable. The truck gives the whole thing a story — a little farm scene, a family Christmas, a specific place — and it gives the eye a focal point that isn’t another ball ornament. It also hands you a color anchor: once the truck is red, everything else either echoes that red or stays neutral.
25. A Tiny Red Pickup Parked in Faux Snow
The truck is the scale reference. A 3- to 5-inch truck with trees two to three times its height looks right; the same truck with 8-inch trees looks like it drove into a forest. Build the display on an 8- to 10-inch round base so it fits a shelf, a mantel, or a nightstand. The whole scene should top out at 10 inches tall, which keeps it at home on a bookshelf and lets it disappear gracefully into a larger display.
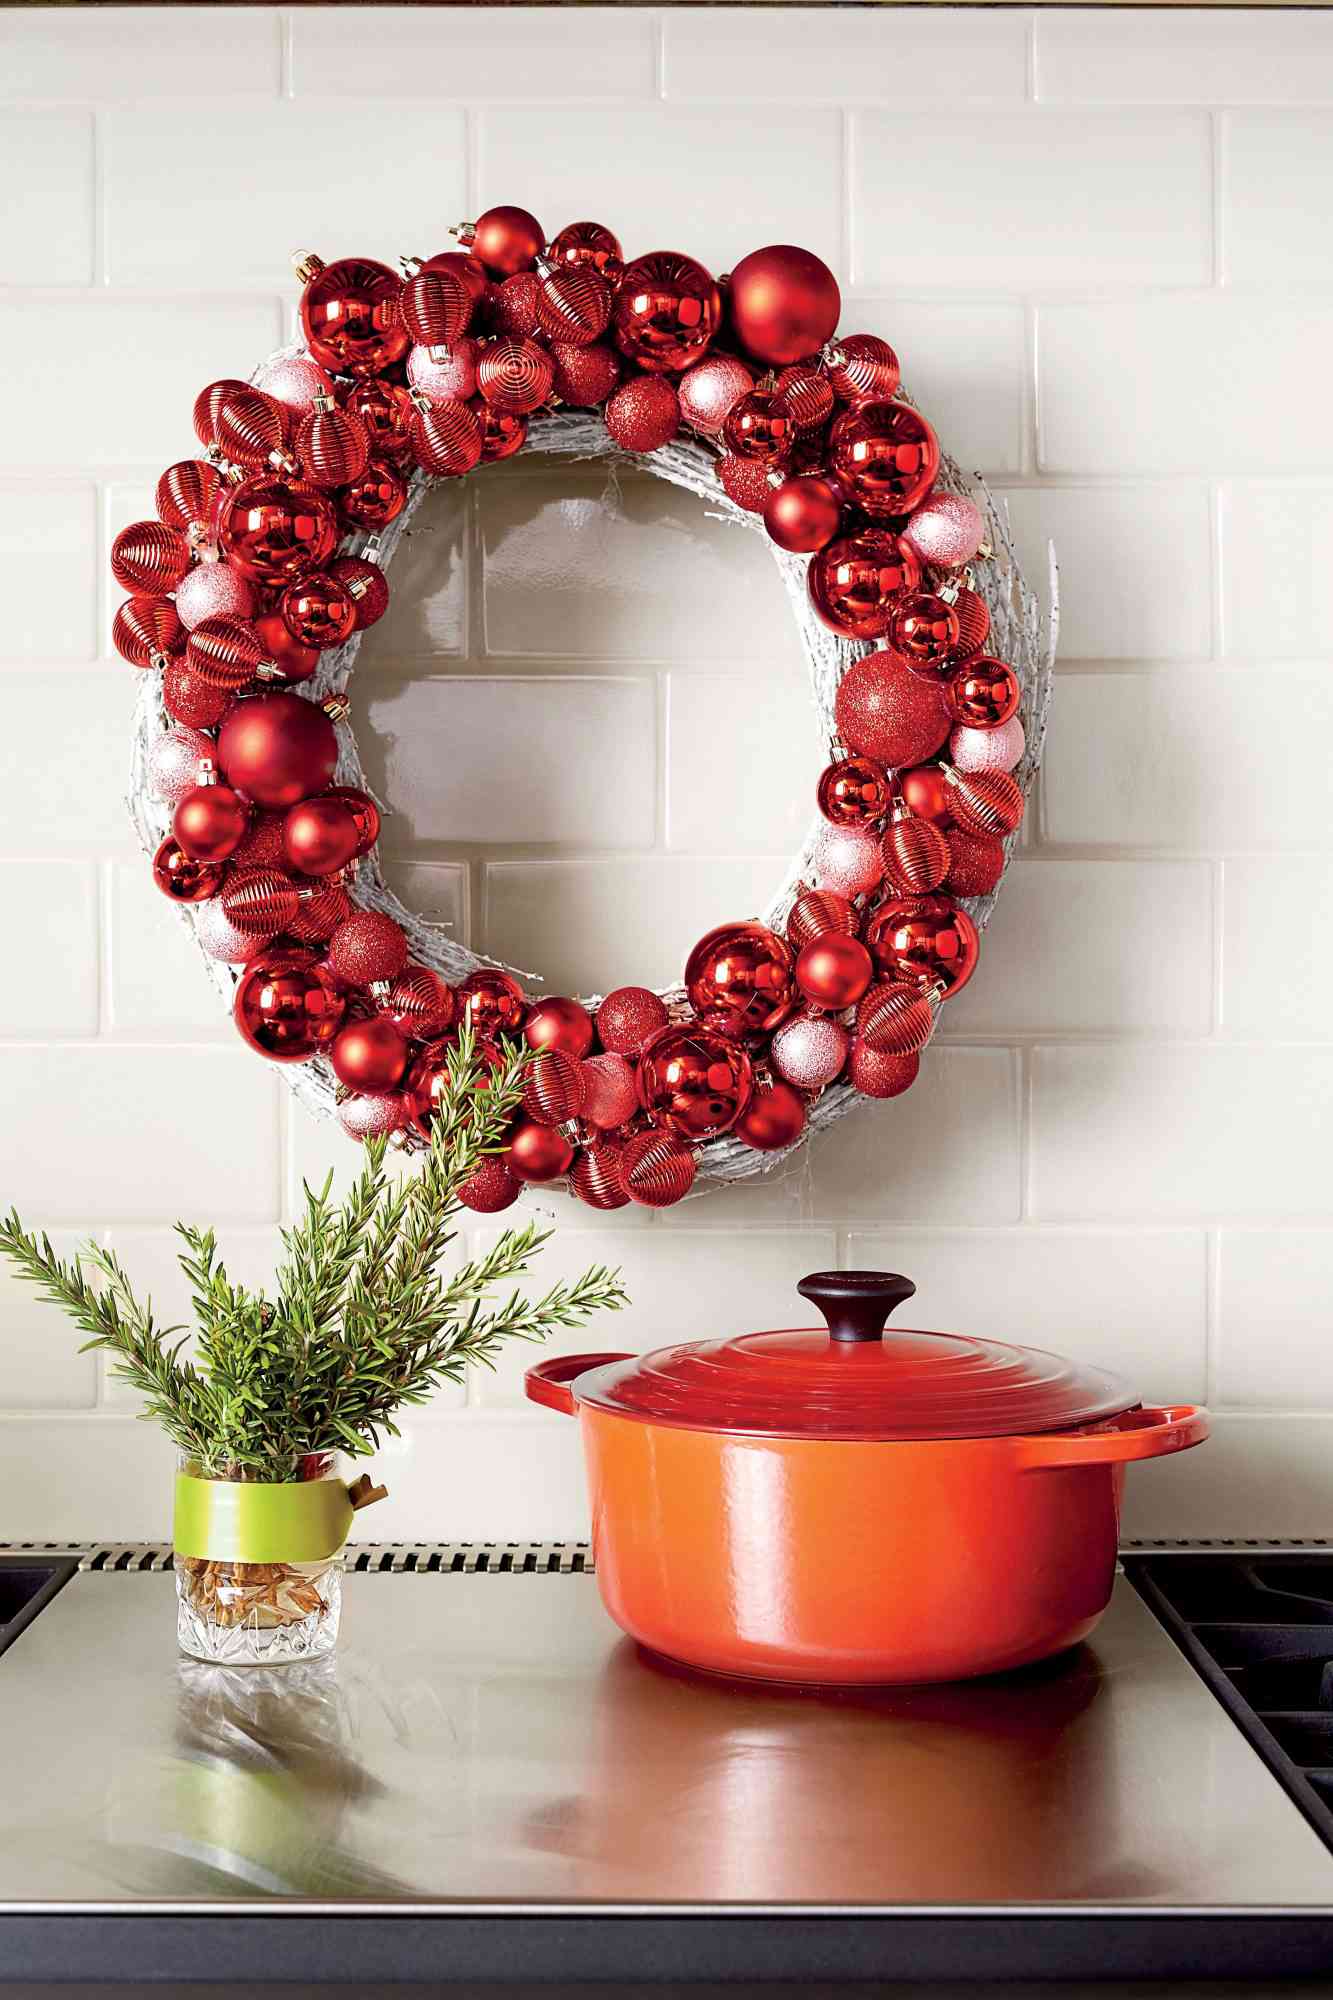
About 20 minutes and $10 to $15 for everything.
- Set the truck on the base and test its position — slightly off center reads better than dead middle.
- Arrange two flocked pines behind the truck, one taller, one shorter.
- Tuck small gift boxes under and behind the rear of the truck bed.
- Sprinkle faux snow so it fills the gaps and buries every base edge.
- Add one exposed detail — a tiny wreath on the grille or a bow on the hood — so it isn’t too perfect.
26. A Red-and-Pinecone Tree with a Ladder of Stockings
- Tree — 7-foot artificial, pre-lit: $80–$250
- Ornaments — red baubles, bows, pinecones: $25–$60
- Lights — if not pre-lit, 4 strands: $20–$40
- Wood ladder, 4 to 5 ft: $25–$70
- Stockings, 4 to 5: $15–$40
- Plaid blanket: $15–$35
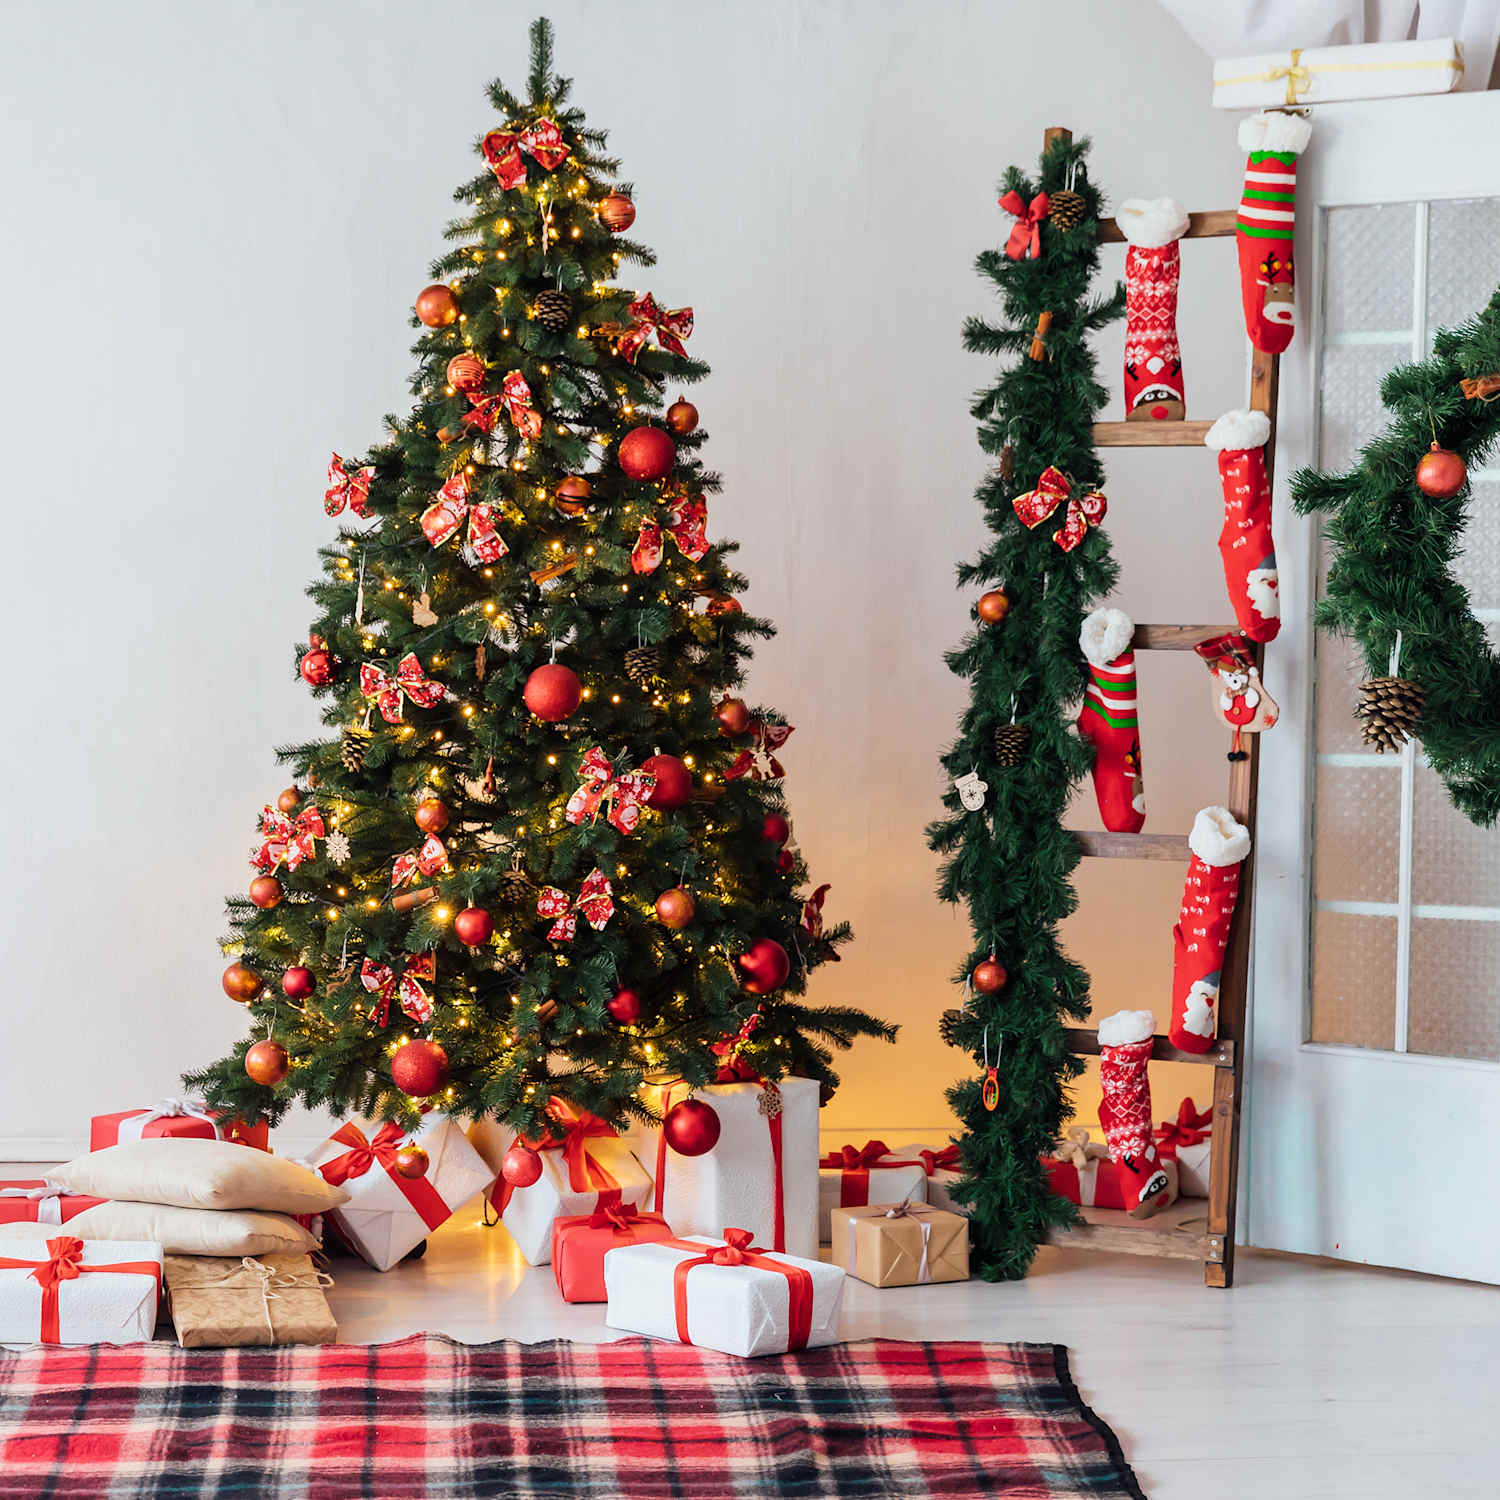
Total: $180–$495
Budget alternative: Dollar Tree sells red baubles and pinecone picks for $1.25 each, and a thrifted ladder runs $10 to $20. Fill in with pinecones from the yard and you’re in around $70.
The ladder is charming and also a climbing hazard — with toddlers in the house, either anchor it or swap it for a wall-mounted stocking rail at 60 inches. Real trees need water daily, and lights should be UL-rated with no frayed cords; a dry tree plus a cheap strand is the classic December fire story. There’s a full breakdown of the mistakes that ruin a setup like this at the end of this article.
27. Mirror-Covered Stars Balanced on Coiled Springs
Mirror needs light to earn its keep, so place these where they can catch a window, a lamp, or a strand of lights — and set at least one of them at 40 to 48 inches so it lands in the sightline from a seated position. The coiled springs are doing double duty as risers: they lift the star off the surface and let light pass underneath, which makes the whole thing feel like it’s hovering. Group the two at staggered heights, not side by side.
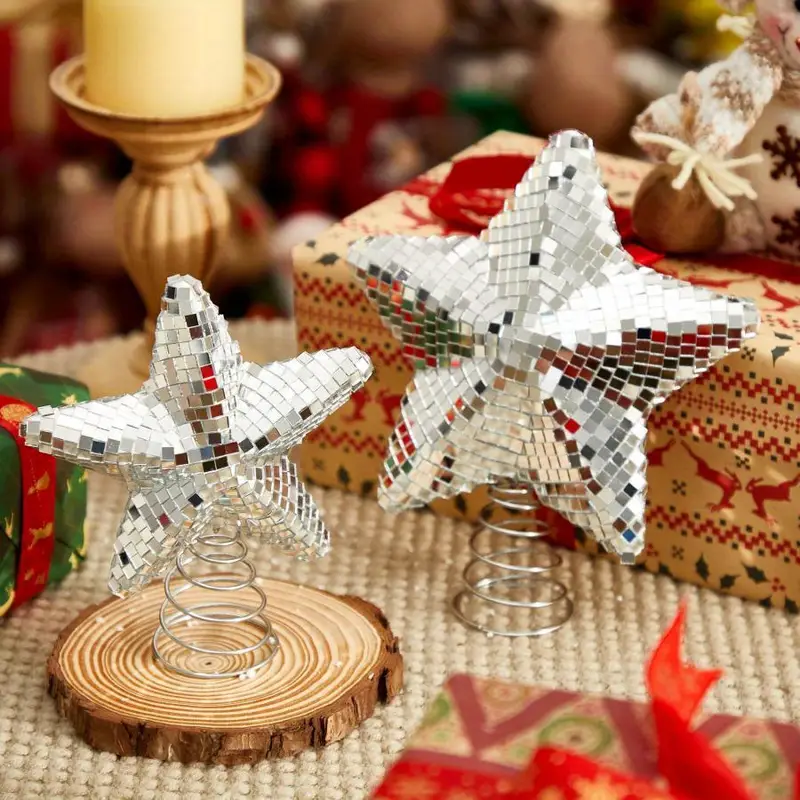
Mirror and disco finishes have been climbing for three years and they’re not slowing down in 2026 — partly because they photograph so well, and partly because they’re a cheap way to make a small room feel bigger. A star built from mirrored craft tiles and a foam form costs about $4. That’s the whole trick: a trend that looks expensive and isn’t.
28. Birch Log Slices Turned Into Holiday Craft Displays
- Let cut logs dry for at least two weeks — green wood cracks as it dries, and it will crack after you’ve decorated it.
- Drill pilot holes slightly narrower than your wire or dowel so nothing splits.
- Sand the face smooth and wipe off the dust before painting or sealing.
- Glue or insert your stems, small figures, or photo holders, then weight the base if it’s top-heavy.
- Finish with a matte sealer so the bark doesn’t shed onto whatever it’s sitting on.
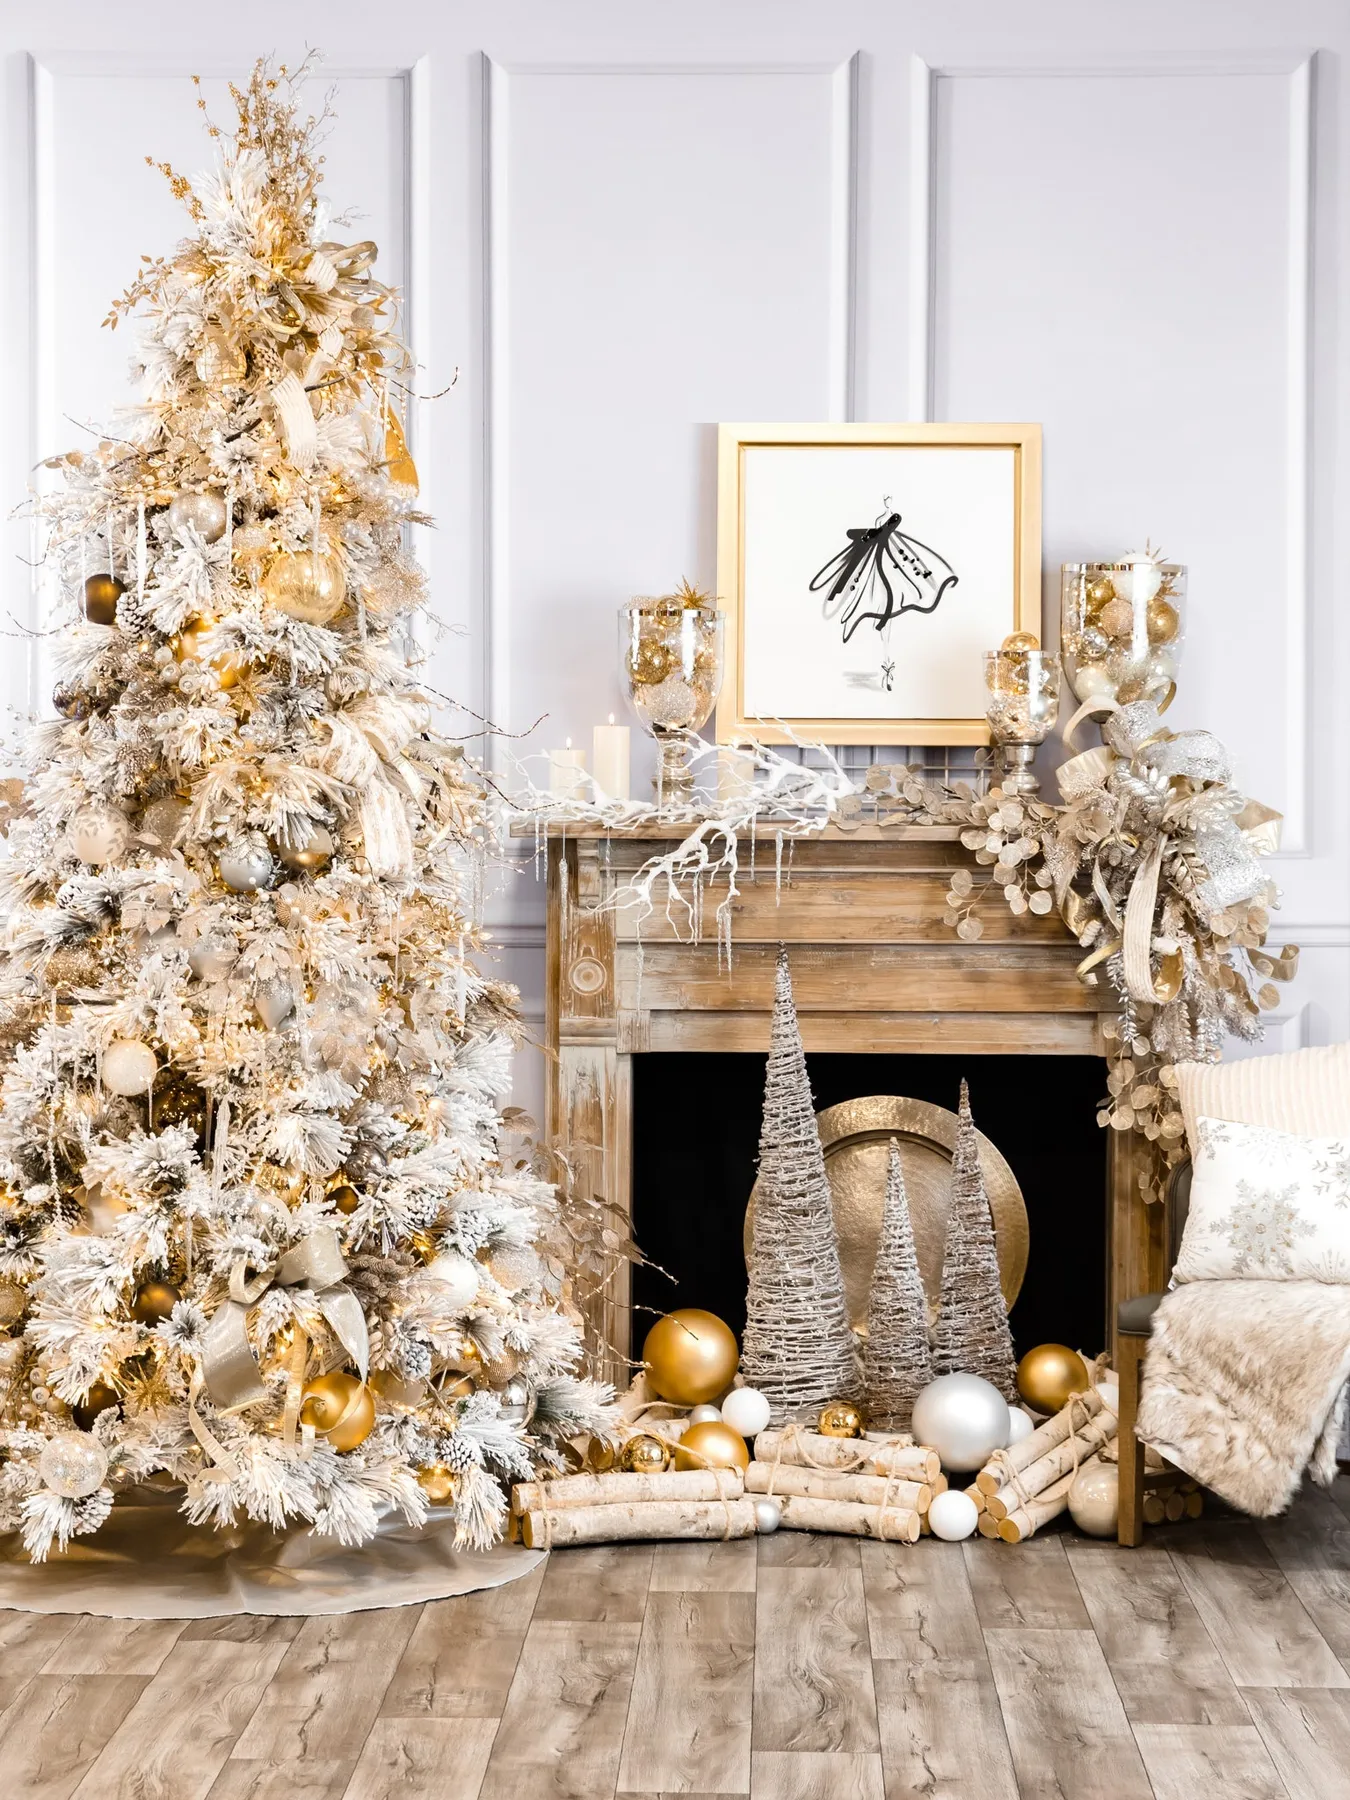
- Is the wood actually dry? Tap two slices together — a dull thud means it’s still green.
- Do you have a drill bit the right size for your dowel or wire?
- Will the finished piece sit somewhere stable, or does it need a weighted base?
- Is the space you’re drilling in ventilated, and are you wearing eye protection?
- Have you sealed the surface so it won’t stain a table or shelf?
29. Pinecones and Oversized Ornaments in a Wooden Crate
This works because it mixes finishes on purpose. Fresh pine and matte pinecones are rough and organic; the large ornaments are smooth and reflective. Put them together in a plain wooden container and each one makes the other look more expensive. The container matters too — it’s low and rustic, so it doesn’t compete with the shine above it. In a metal or glossy ceramic planter, the same arrangement tips toward store display.

The ornaments are the expensive part if you buy them as decor — $8 to $15 each. Buy them as shatterproof tree ornaments instead, in a 4-inch size, at about $6 for a bag of 12. Pinecones are free if there’s a park nearby, or $4 a bag at the craft store. A wooden crate from a thrift shop or a produce box runs $5 to $12. You’re looking at $20 to $30 total versus $80 or more for the pre-styled versions.
30. A Santa Figurine Beside a Snow-Dusted Tree
It’s the pairing. A Santa alone is a figurine; a snow-dusted tree alone is a miniature. Together they imply a moment — Santa arriving at the tree, presents about to appear — and that story is why people stop and look. The red-and-gold star surface underneath ties the two figures together and keeps them from reading as two separate objects that happen to be nearby. Separate them by three feet and the magic evaporates.
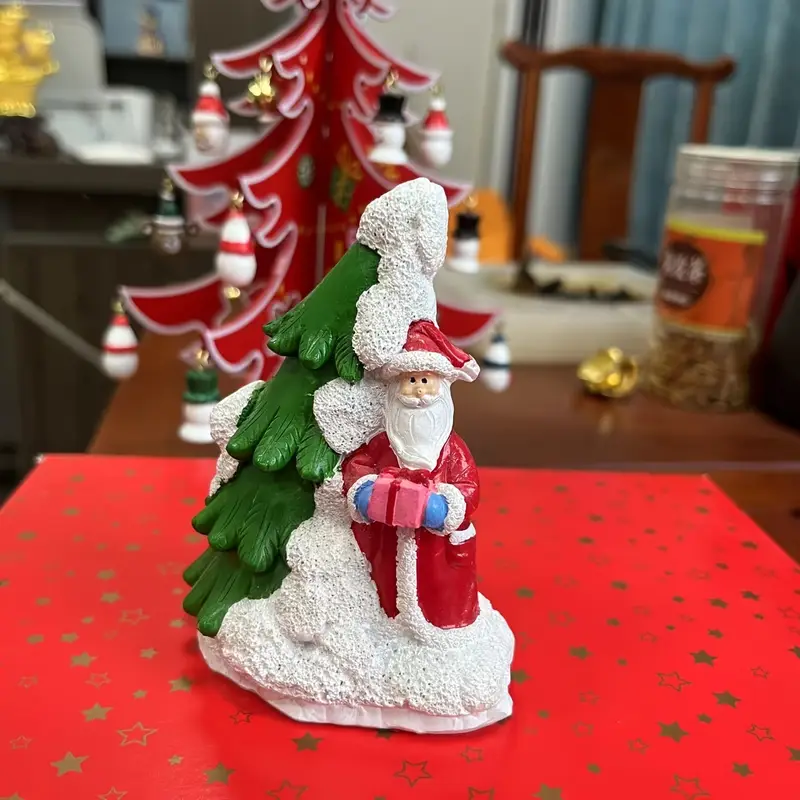
Keep figurine groupings to three objects maximum, and make sure the tallest is no more than one-third the height of the shelf or tabletop area it sits on. A 9-inch Santa on a 30-inch shelf looks right; a 14-inch Santa on the same shelf looks like it’s about to fall off. Compare with Idea #25 — same miniature storytelling instinct, completely different scale.
31. A Pool Noodle Wrapped Into an Oversized Wreath
- Tape two pool noodles end to end with duct tape to make a circle, then secure the join with a second wrap.
- Cut a shallow slit along the outside of the noodle with a utility knife — this is the channel your greenery tucks into.
- Wrap greenery, ribbon, or mesh around the form, pushing the ends into the slit every few inches.
- Add ornaments and picks with hot glue or wire, working in odd-numbered clusters.
- Attach a sturdy hanger — this thing gets heavy — and give it a shake before you hang it.

A pool-noodle wreath typically finishes at 30 to 36 inches. That works on a standard 36-inch door with about 4 inches of margin all around, but it will not work below 32 inches — you’ll lose the door entirely. You also want at least 12 inches of clearance above the frame. On a narrow hallway wall or a small apartment entry, scale down to a 20-inch hoop instead.
32. A Colorful Entry That Leans Bright, Not Red-and-Green
- Garland, 2 strands: $10–$20
- Ornaments in one bright palette: $12–$25
- Ribbon, 2 rolls: $6–$14
- Zip ties and hooks: $4–$10
- Outdoor-rated extension cord: $10–$18
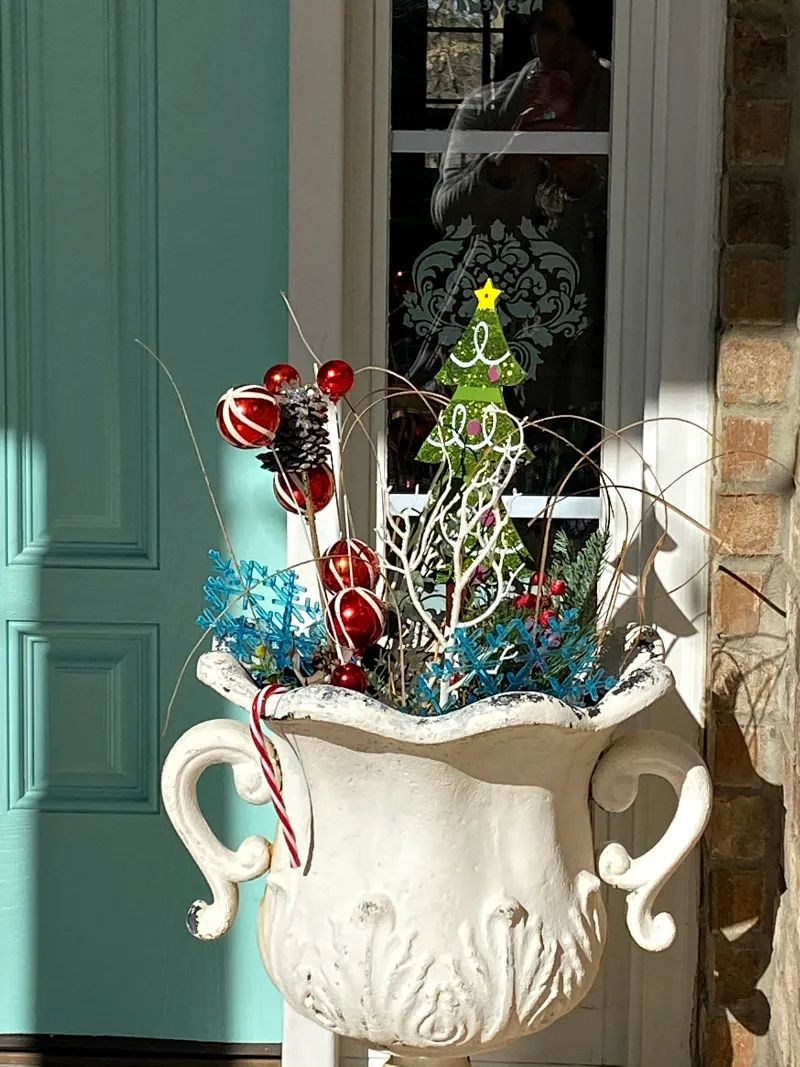
Total: $42–$87
Budget alternative: one color of ornament in three sizes beats three colors in one size. Spend your money on quantity in a single shade and fill in with ribbon you already own.
Outside, tape fails and zip ties don’t. Wind will take a taped garland down the first cold night, and adhesive strips don’t grab at all below 40 degrees. Use clear zip ties on railings and small cup hooks on trim, and run LED lights rather than incandescent — they draw less power and don’t burn out when it’s freezing. Check that every extension cord is rated for outdoor use before you plug anything in.
33. Small Bedroom Touches Instead of a Whole Tree
70 percent what’s already there — your bedding, your art, your lamps — 20 percent one holiday textile, and 10 percent tiny decor. That means a red or plaid throw at the foot of the bed, three mini bottle brush trees on the nightstand, and a ribbon on the lamp. Anything more and a small bedroom starts to feel like a storage unit by mid-December. Swap the throw for a green blanket and the same formula turns cooler and more wintry.
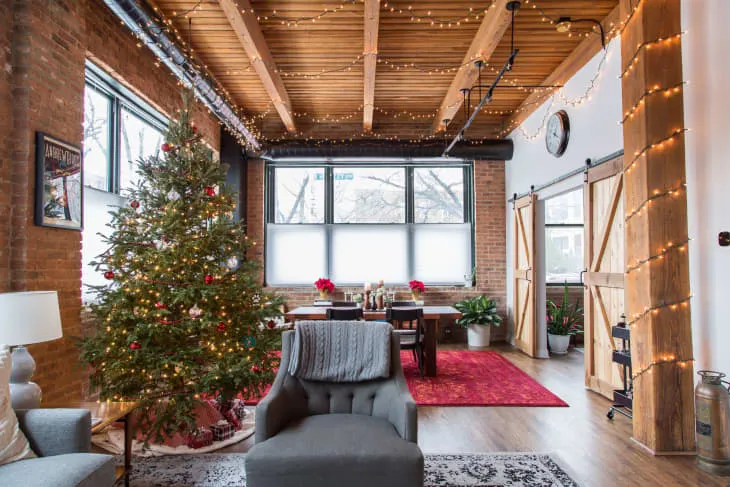
Total spend for a refresh like this: about $12 to $20. A mini tree is $1.25, a set of battery fairy lights is $3 to $5, and a plaid ribbon is $2. Thrift stores and Facebook Marketplace are goldmines for holiday throws at $5 to $8, and a plain cotton duvet cover around $20 makes whatever throw you own look intentional. You don’t need a second Christmas.
34. Cozy Cottage Layering with Vintage-Looking Finds
Pattern mixing works when the scales are different. In a cottage-style setup you’ll usually see one large-scale pattern — a big gingham or buffalo check — supported by a small-scale one like a tiny calico or a stripe, plus a solid to give the eye somewhere to rest. Two patterns at the same scale fight; three at different scales sing. Warm whites and faded reds hold it all together, which is why this look reads vintage without anything actually being old. The boa-wrapped vase in Idea #14 is the fastest way to add the texture layer.
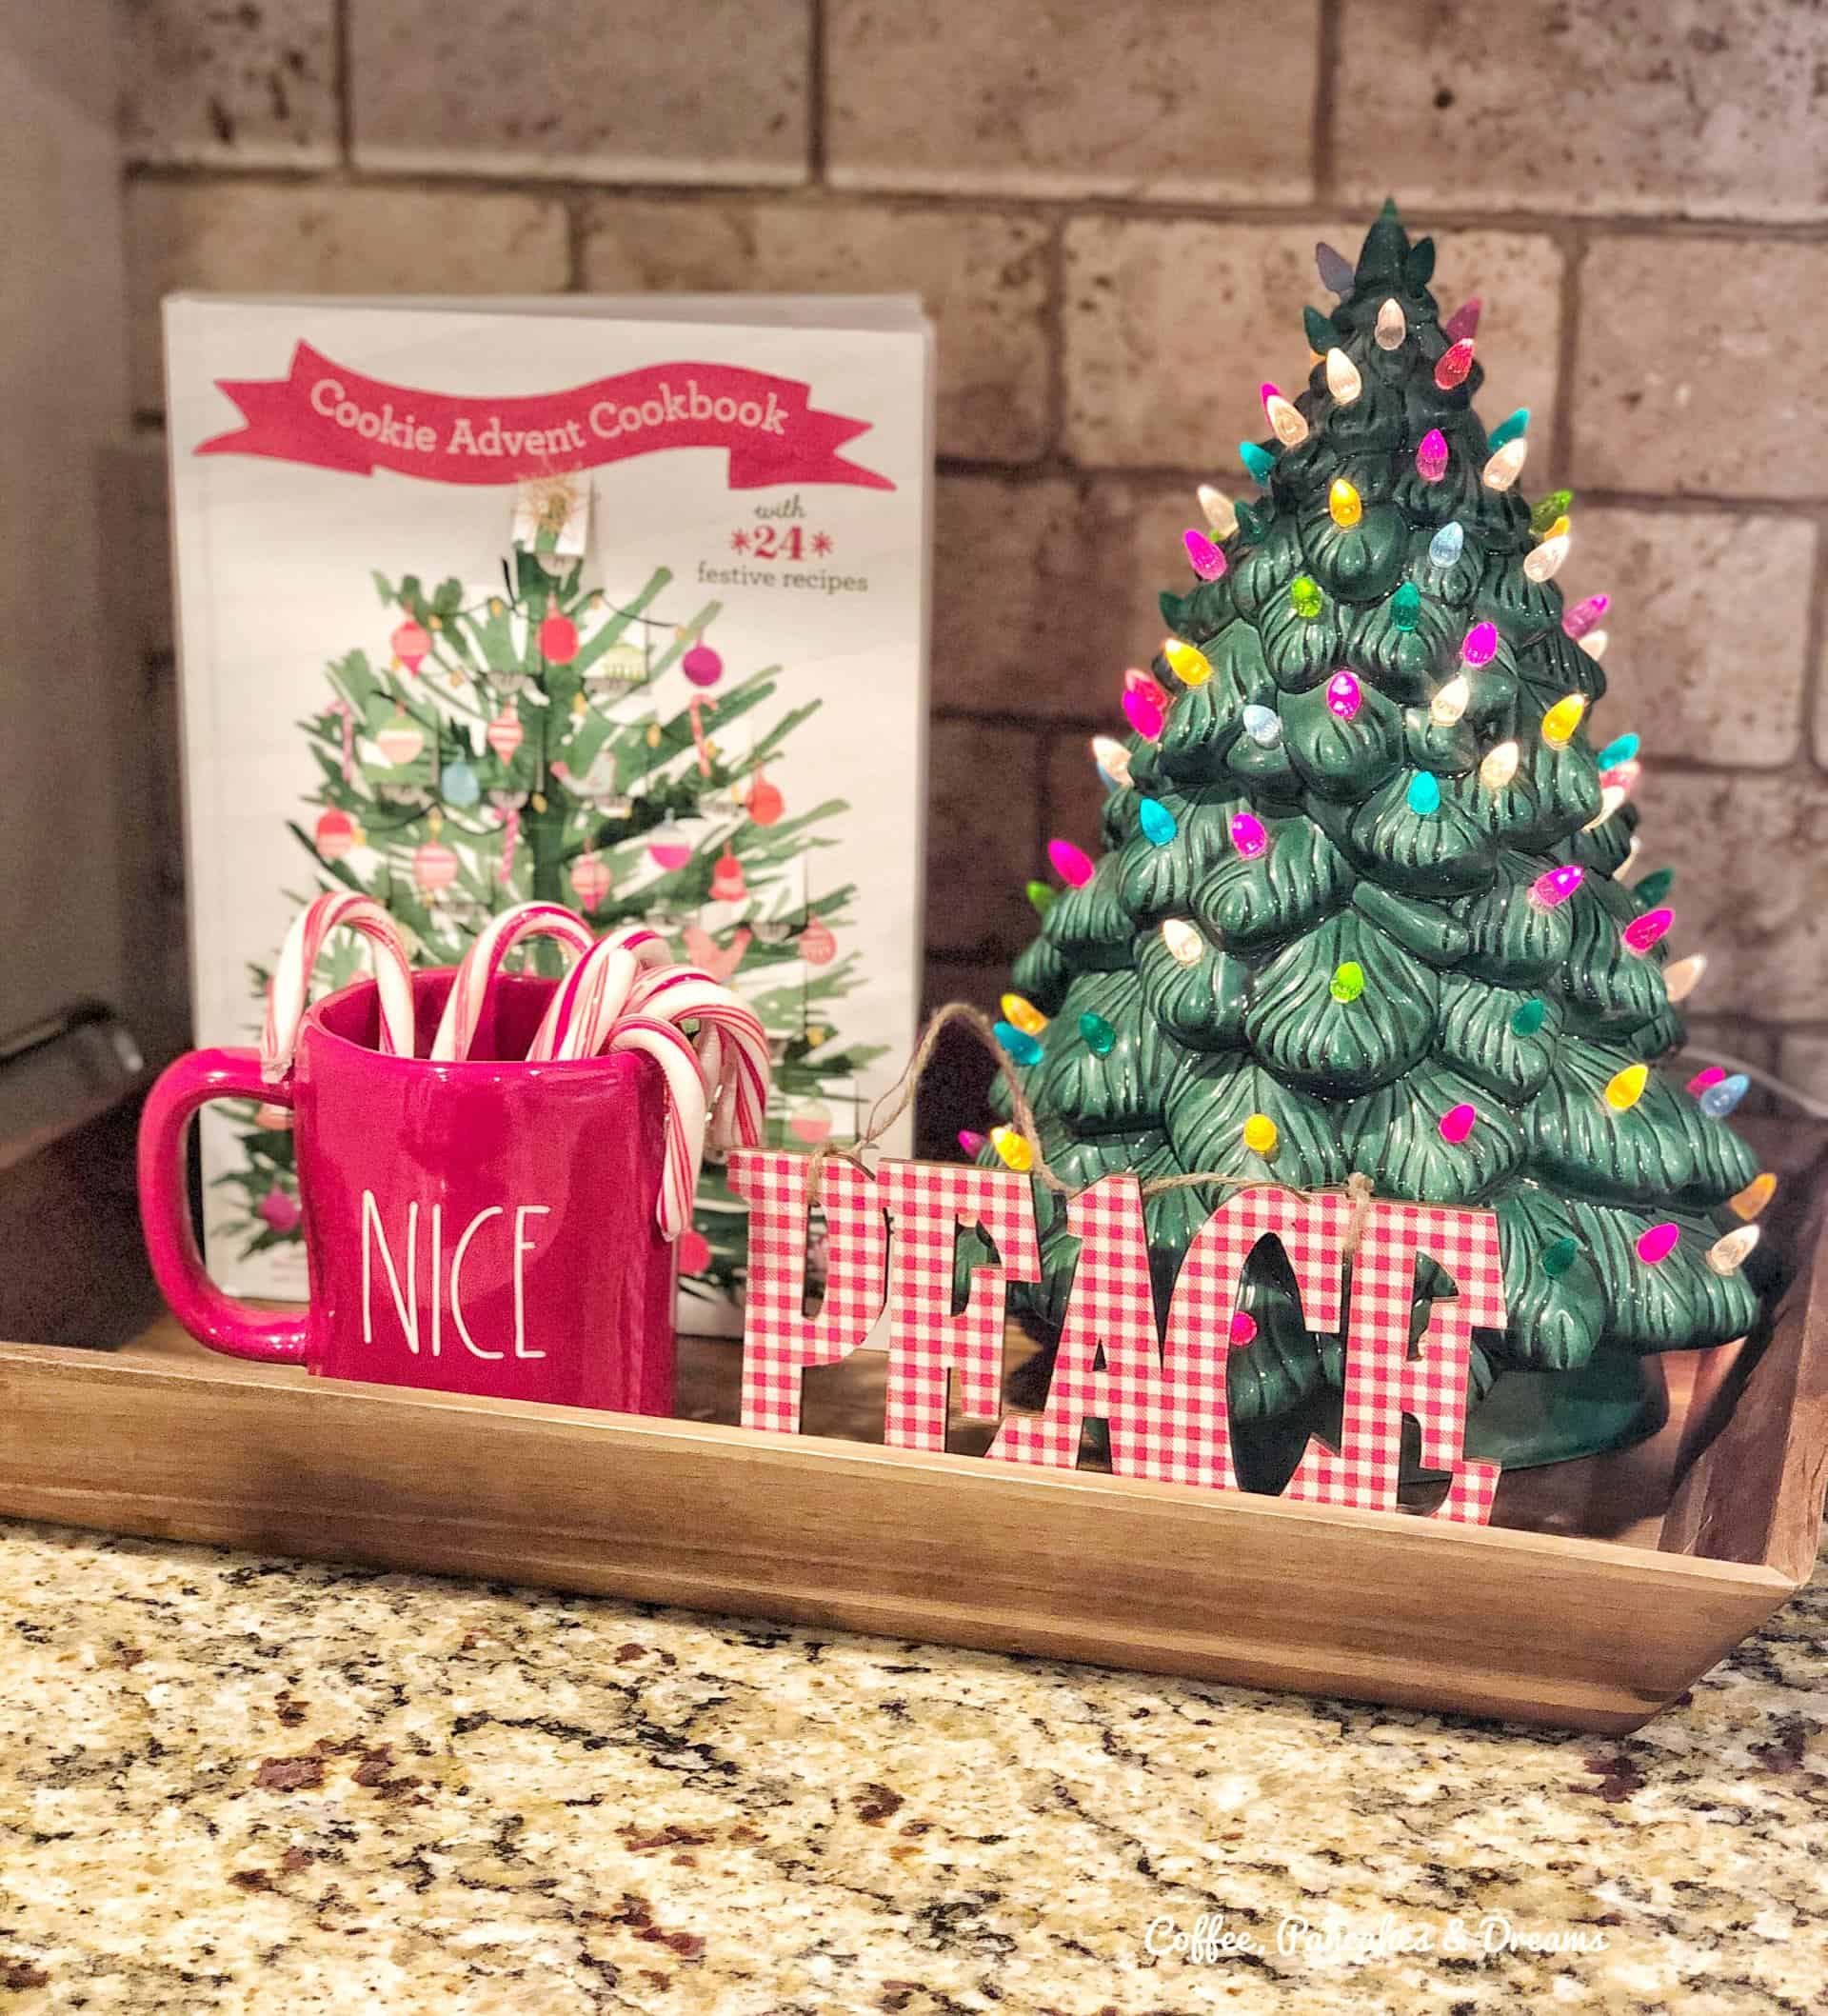
Textiles are the maintenance story here. Washable covers are worth the extra couple of dollars — spot-cleaning a linen-look pillow cover rarely works, and a $6 zip cover saves the whole pillow. Store holiday fabrics in a breathable cotton bag, not plastic, and tuck in a cedar block to keep moths out of wool. Expect to replace the cheapest cotton pieces every two to three seasons; that’s normal at this price point, and cheaper than dry cleaning.
35. One Box of Dollar Tree Finds, Four Rooms, No Waste
Shopping your own stash is the quiet trend of the 2026 season. With prices up almost everywhere, people are pinning storage and re-styling ideas far more than shopping hauls — the same $40 box of ornaments rotated through four rooms instead of four separate purchases. It also fits the way people actually decorate now: lighter touch, more personal, less perfectly matched to a catalog page. Nothing here goes out of style because nothing here was trendy to begin with.
- Lay out everything you bought or pulled from storage and count it before you plan anything.
- Assign each item to one room — if it doesn’t have a home, it doesn’t go up.
- Pick two clear storage bins and label them so next January takes twenty minutes, not two hours.
- Check for anything broken, shedding, or missing a hanging loop and deal with it now.
- Decide your one no — the thing you’re not doing this year — before you start.
Ten Dollars, Thirty-Five Ideas, One Very Merry House
Nobody walks into your home in December and asks what you spent — they notice whether it feels warm, layered, and like you. Start with one project this weekend: the wreath, the styled bowl of ornaments, the little red truck in faux snow. Then let the rest of the season catch up.
📌 Save this to Pinterest for later — you’ll want to come back to it when the December panic sets in and you need one more idea.